Progress update for modular guitar amplifier

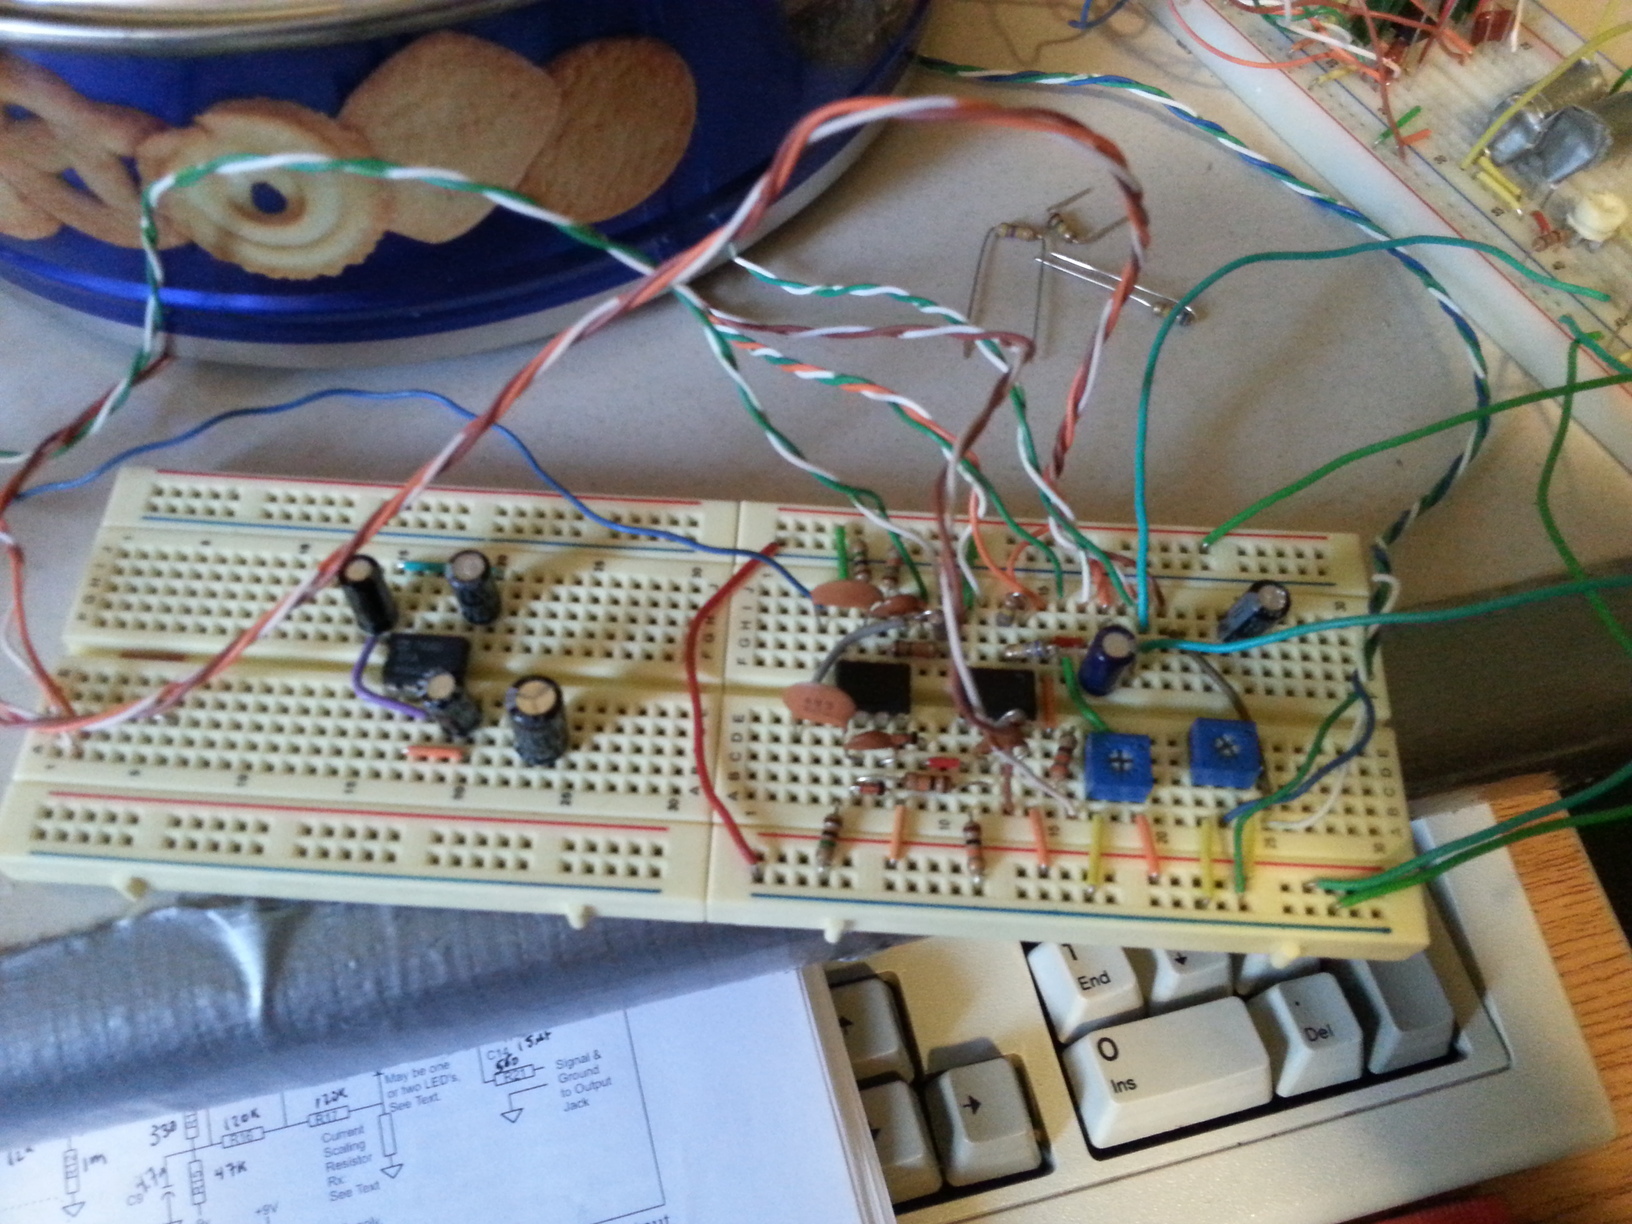
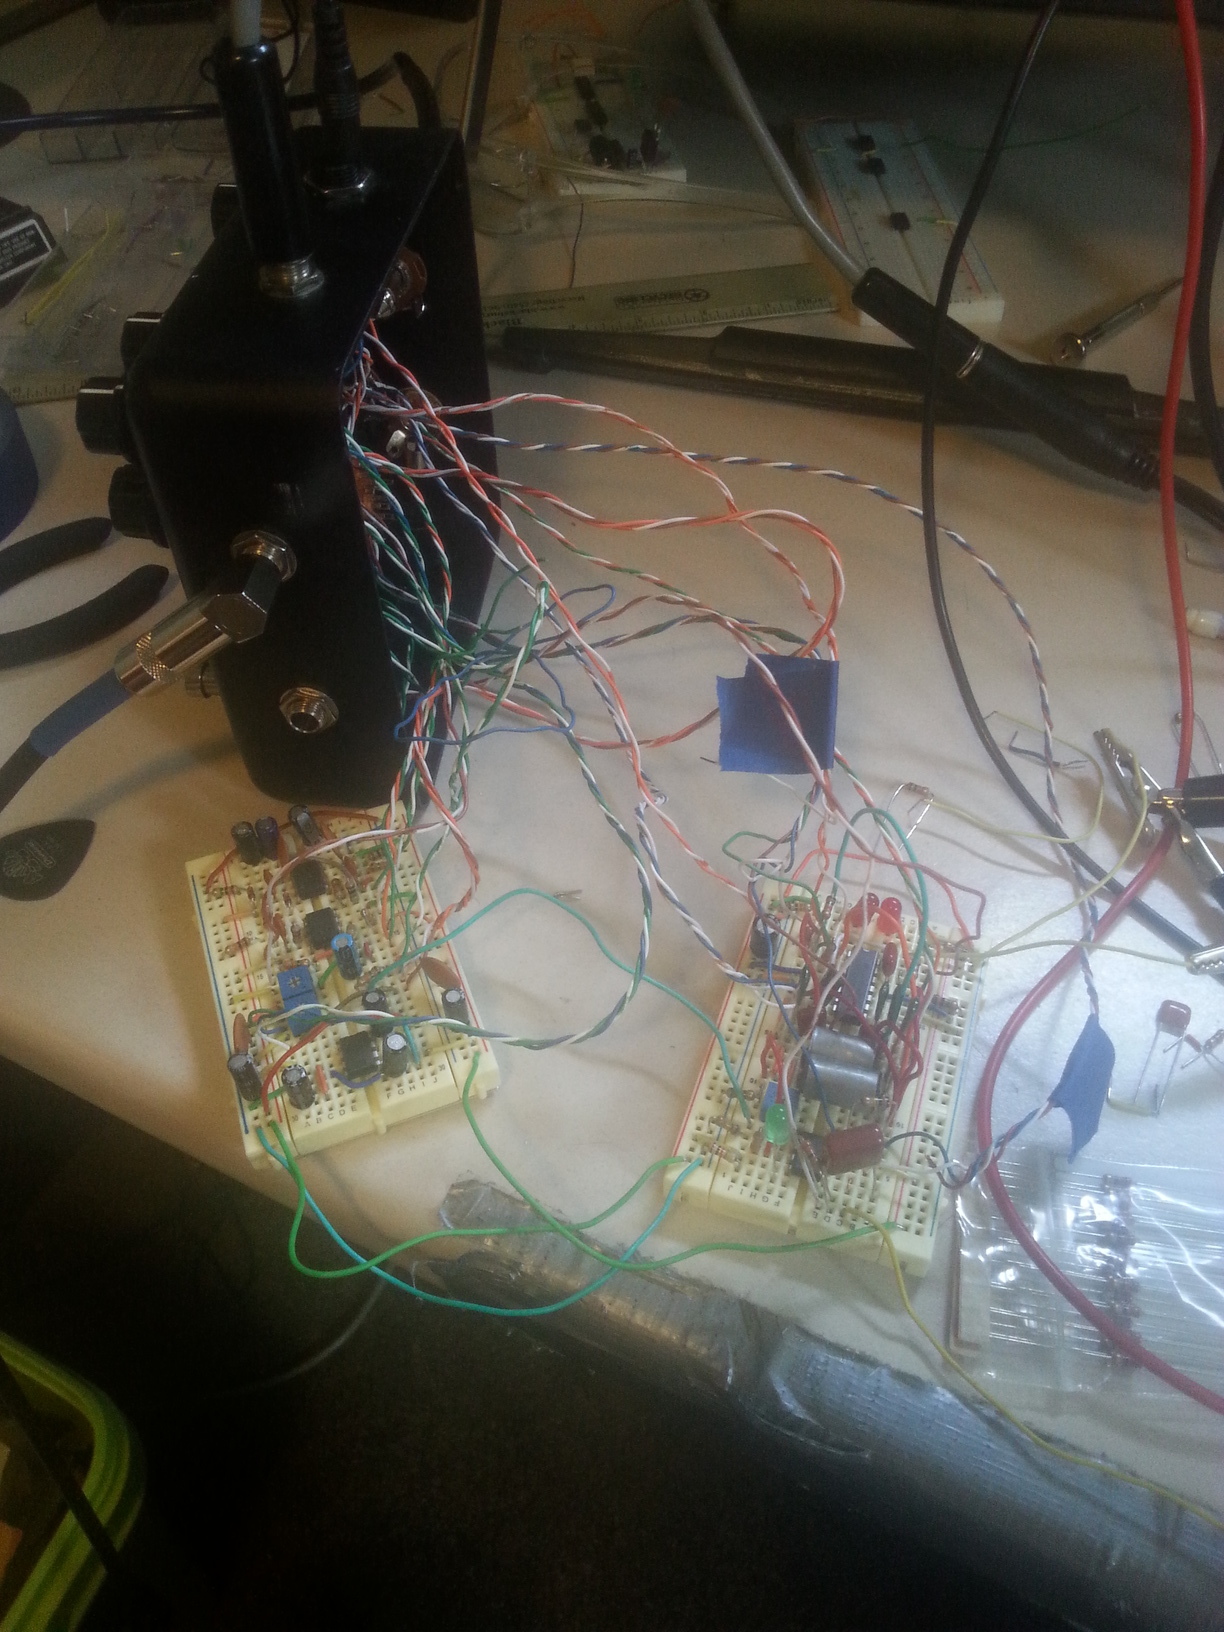
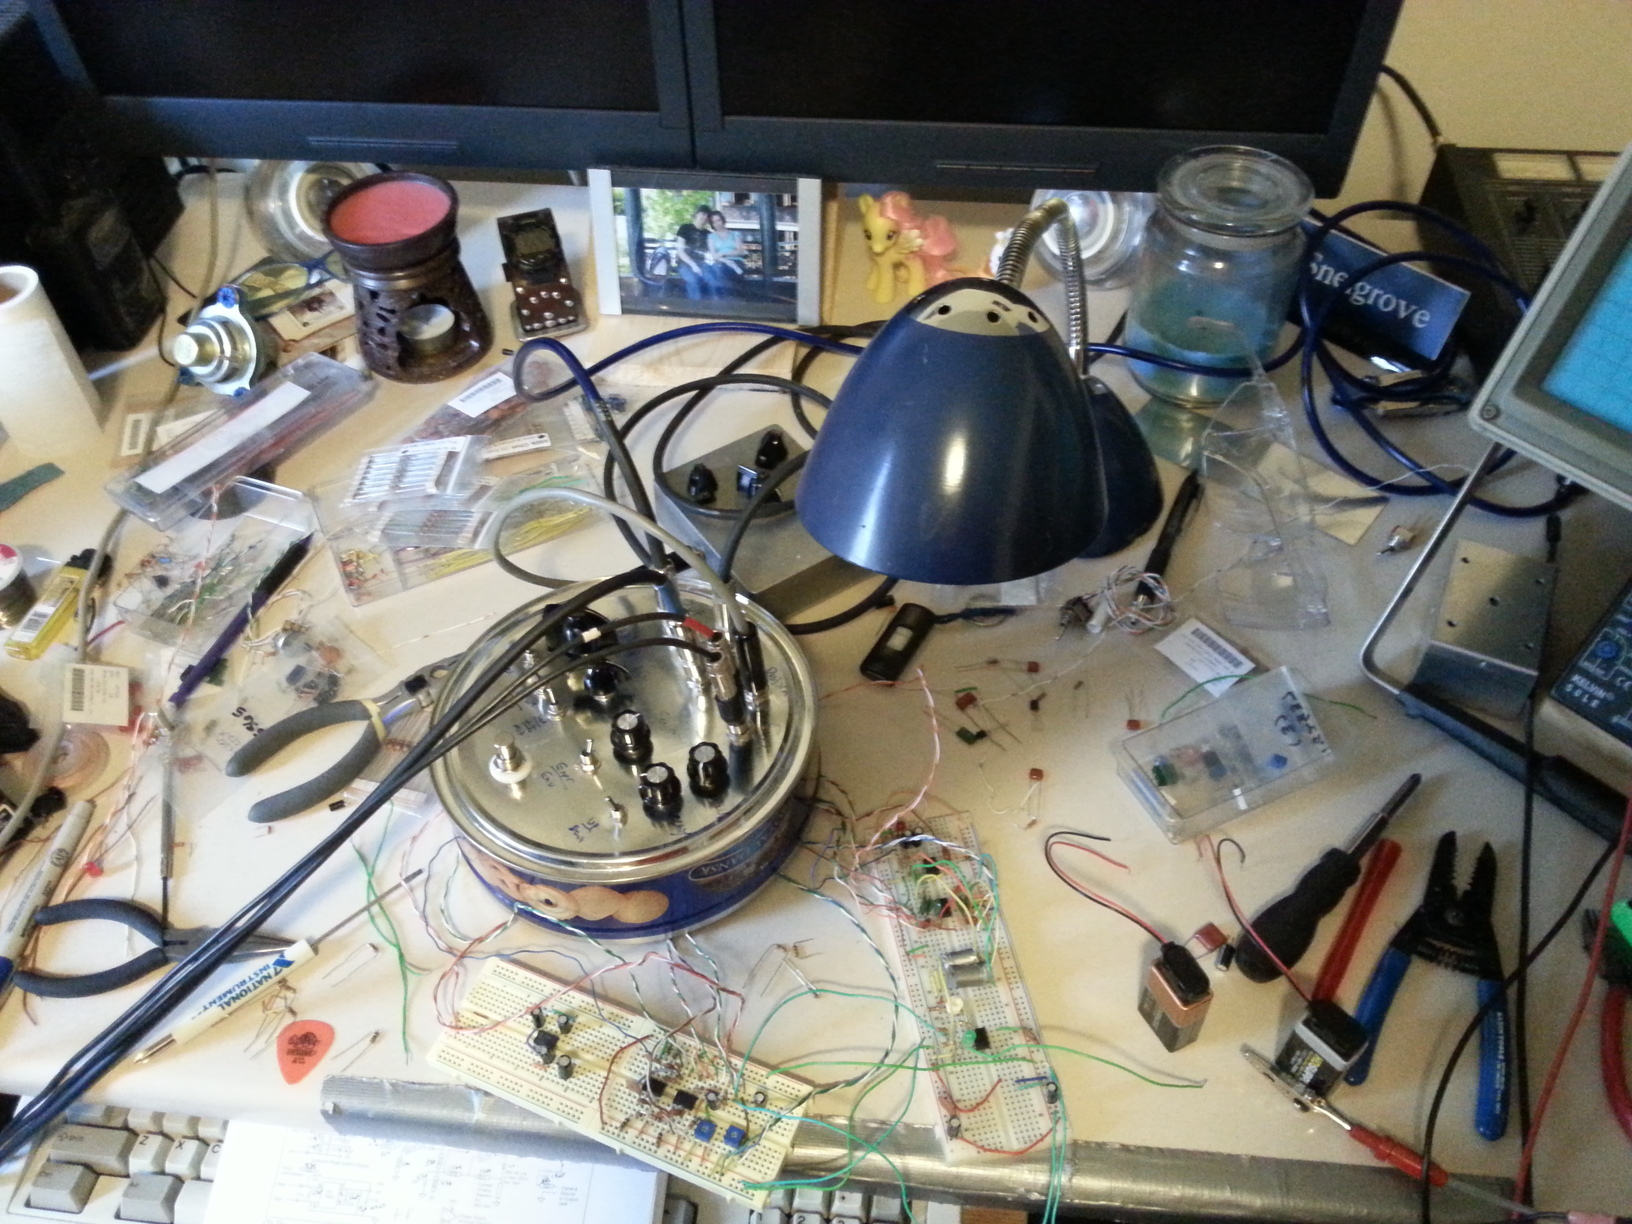
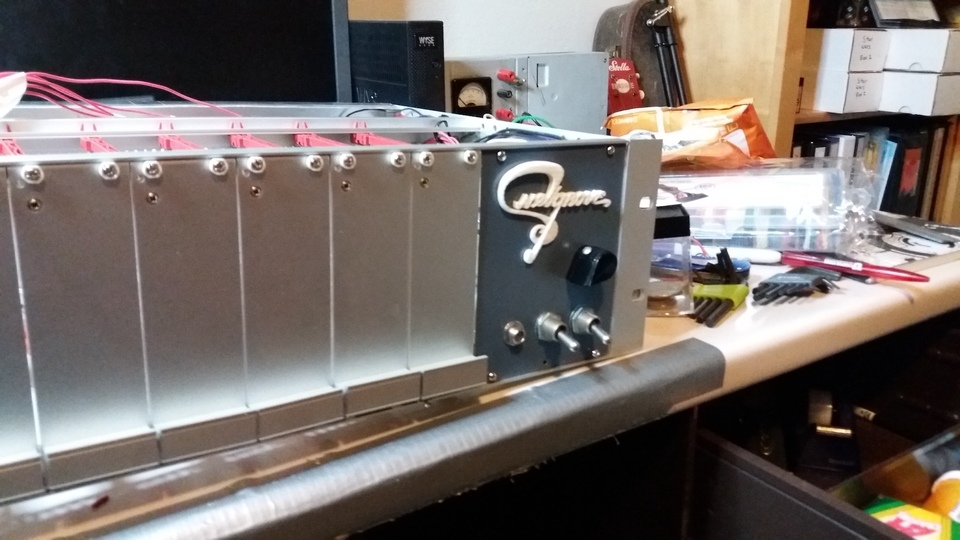
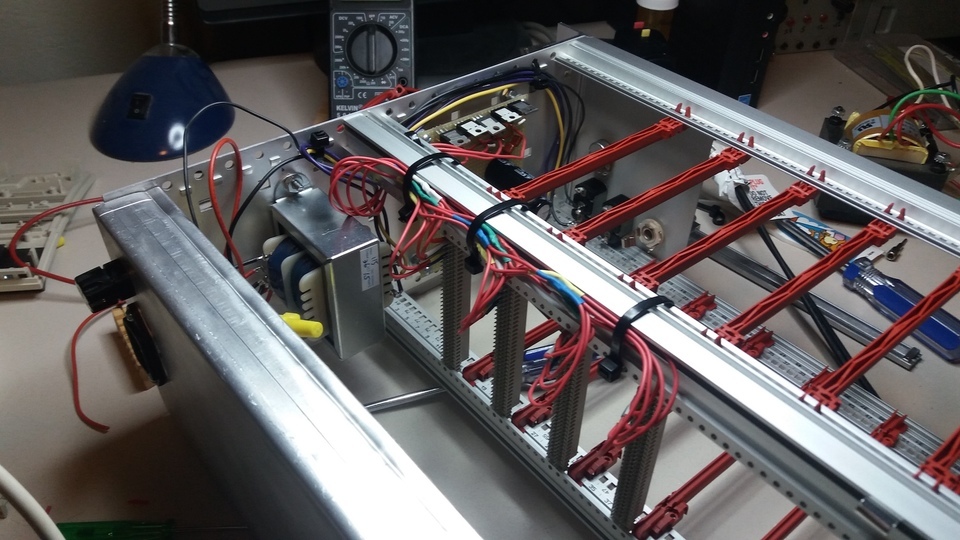
Progress update for the modular guitar amplifier. I’ve finished the power supply. It rectifies a center tap transformer and feeds that into +5, +9, +15, -9, and -15 voltage regulators. Each backplane connector is wired with all five supplies. I’ve only wired up the switching connector and three module slots - I need to get more connectors. Next step is wiring up the signal lines. I set up the front panel with a master output level and input jack. There are two power switches - a master switch for the main module supply, and a secondary power supply switch for the planned power amplifier section slaved into the master.

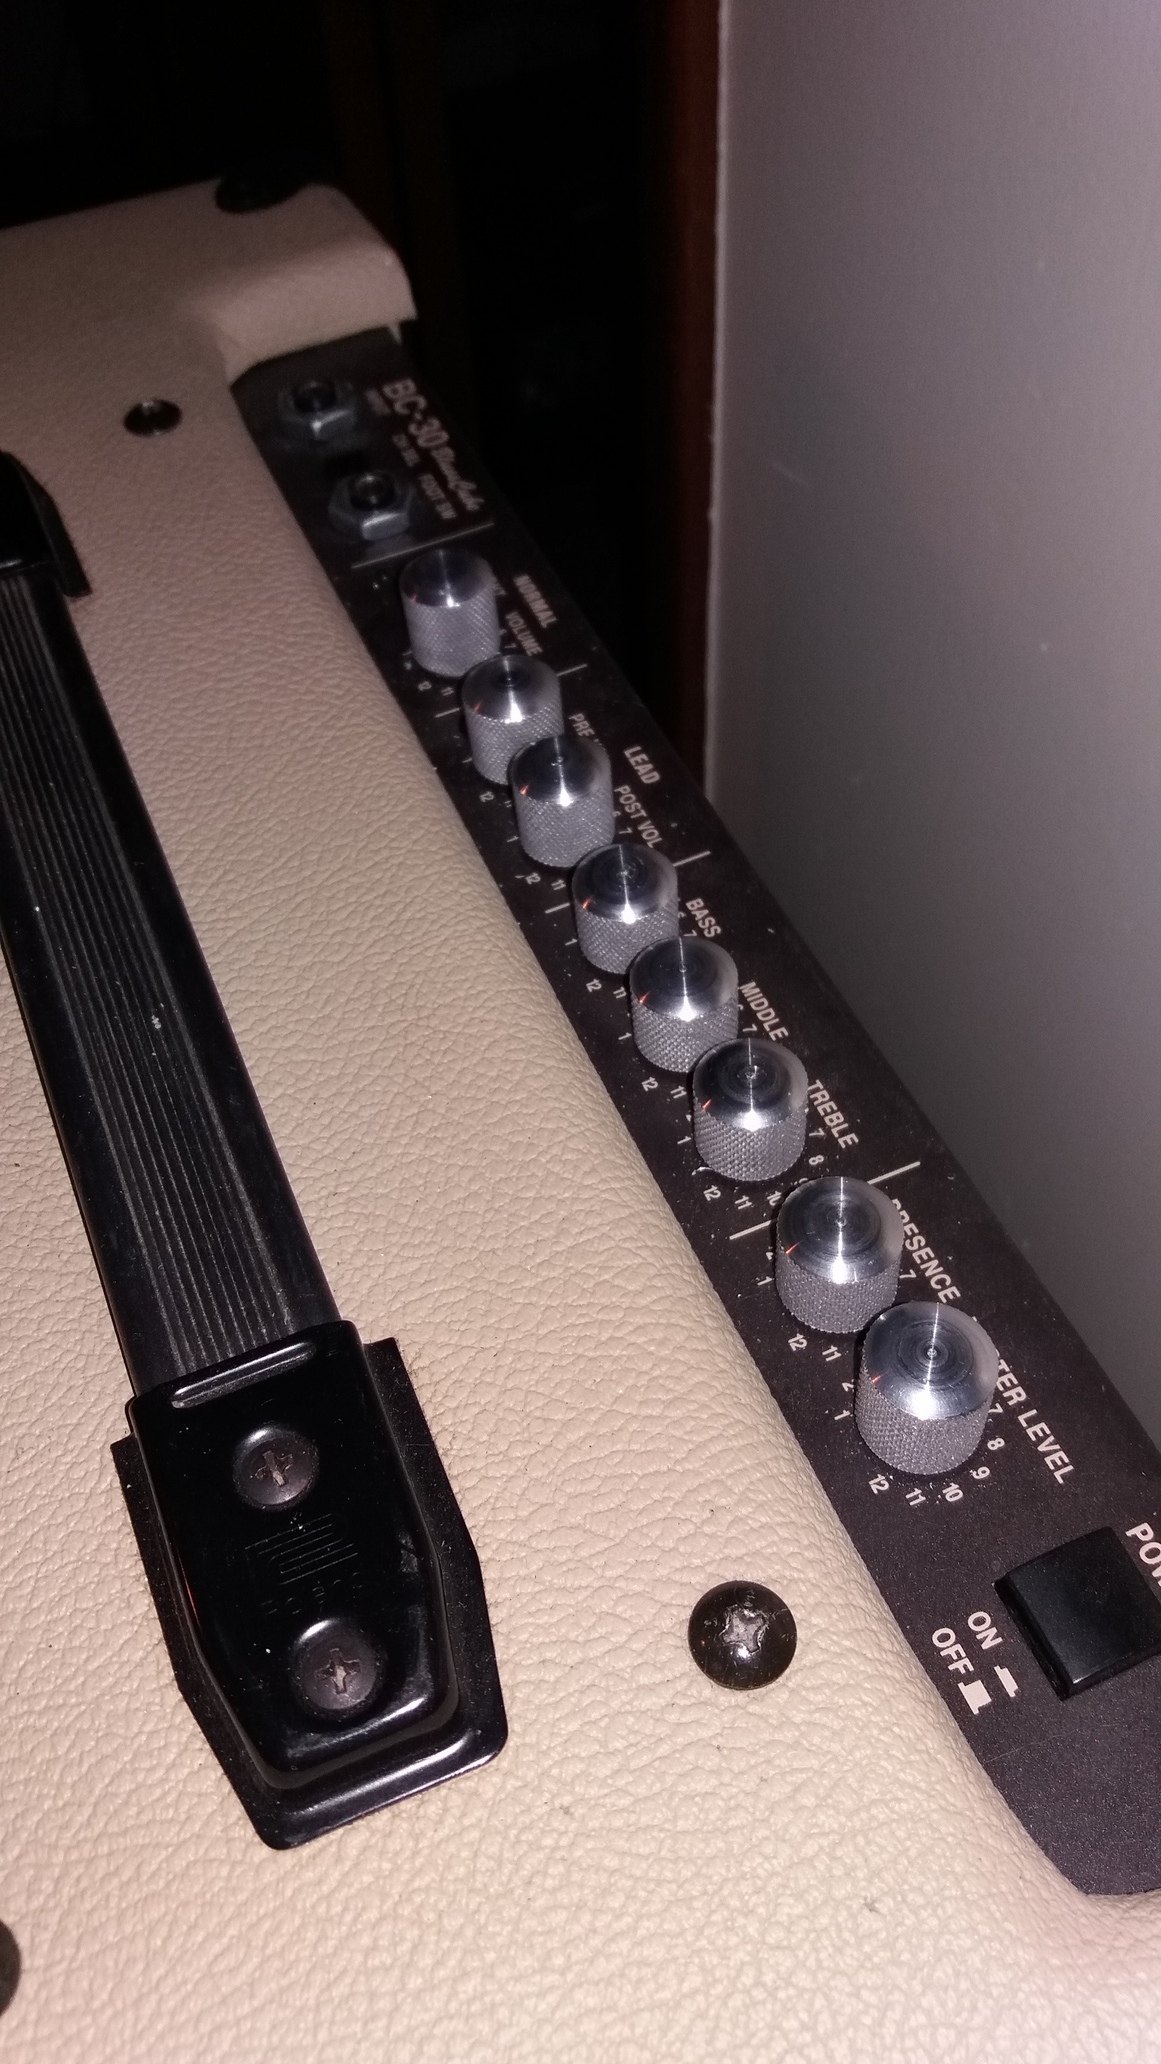
Knurled metal knobs for Roland Blues Cube

I made new knobs for my Roland Blues Cube. The old plastic ones where lame and missing their tops. These are machined out of aluminum and knurled on the outside. I was able to get the technique repeatable enough that a knob would take about 15 minutes to turn.

My small bench lathe does make tool changes difficult - I have to remove the tailstock to change the drill bits, and there is only room for two tools on the post while using the center. Using a center to support the piece once I had drilled made a big difference as far as stability of plunge cuts with the form tool and the parting tool.

I was able to make a new form cutting tool based off my experience with my previous tools I ground. I found that when plunge cutting with a form tool or a parting tool, the tool would often catch, jamming the piece out of the chuck. Getting the tool clearances correct is very important when grinding. The rounded edge is tricky to grind - I use a dremel rotary tool by hand. Grinding the end of the plunge tool after using the dremel ensures a clean, perpendicular edge. The next important thing was getting the part off and form tools perpendicular to the axis of rotation, so that the tool is going straight in and not rubbing on the sides. I used my dial indicator to measure the variance over the range of the crossfeed, and adjust the tool to be parallel. This calibration was time consuming, but I was able to mount both tools permanently in the tool post so that tool changes did not disrupt the alignment.

As I practice, I’m starting to get a better feel for the feeds and speeds. Some research showed that I was trying to turn at a bit faster speed than was appropriate for aluminum. Reducing the speed and getting the feed right make a big difference. There’s definitely a lot of awareness of feel that develops. Modern CNC machines can adjust the feed rate and rotation to get the right linear speed through the entire cut, but it requires a lot of practice to do this manually.

Phaser pedal

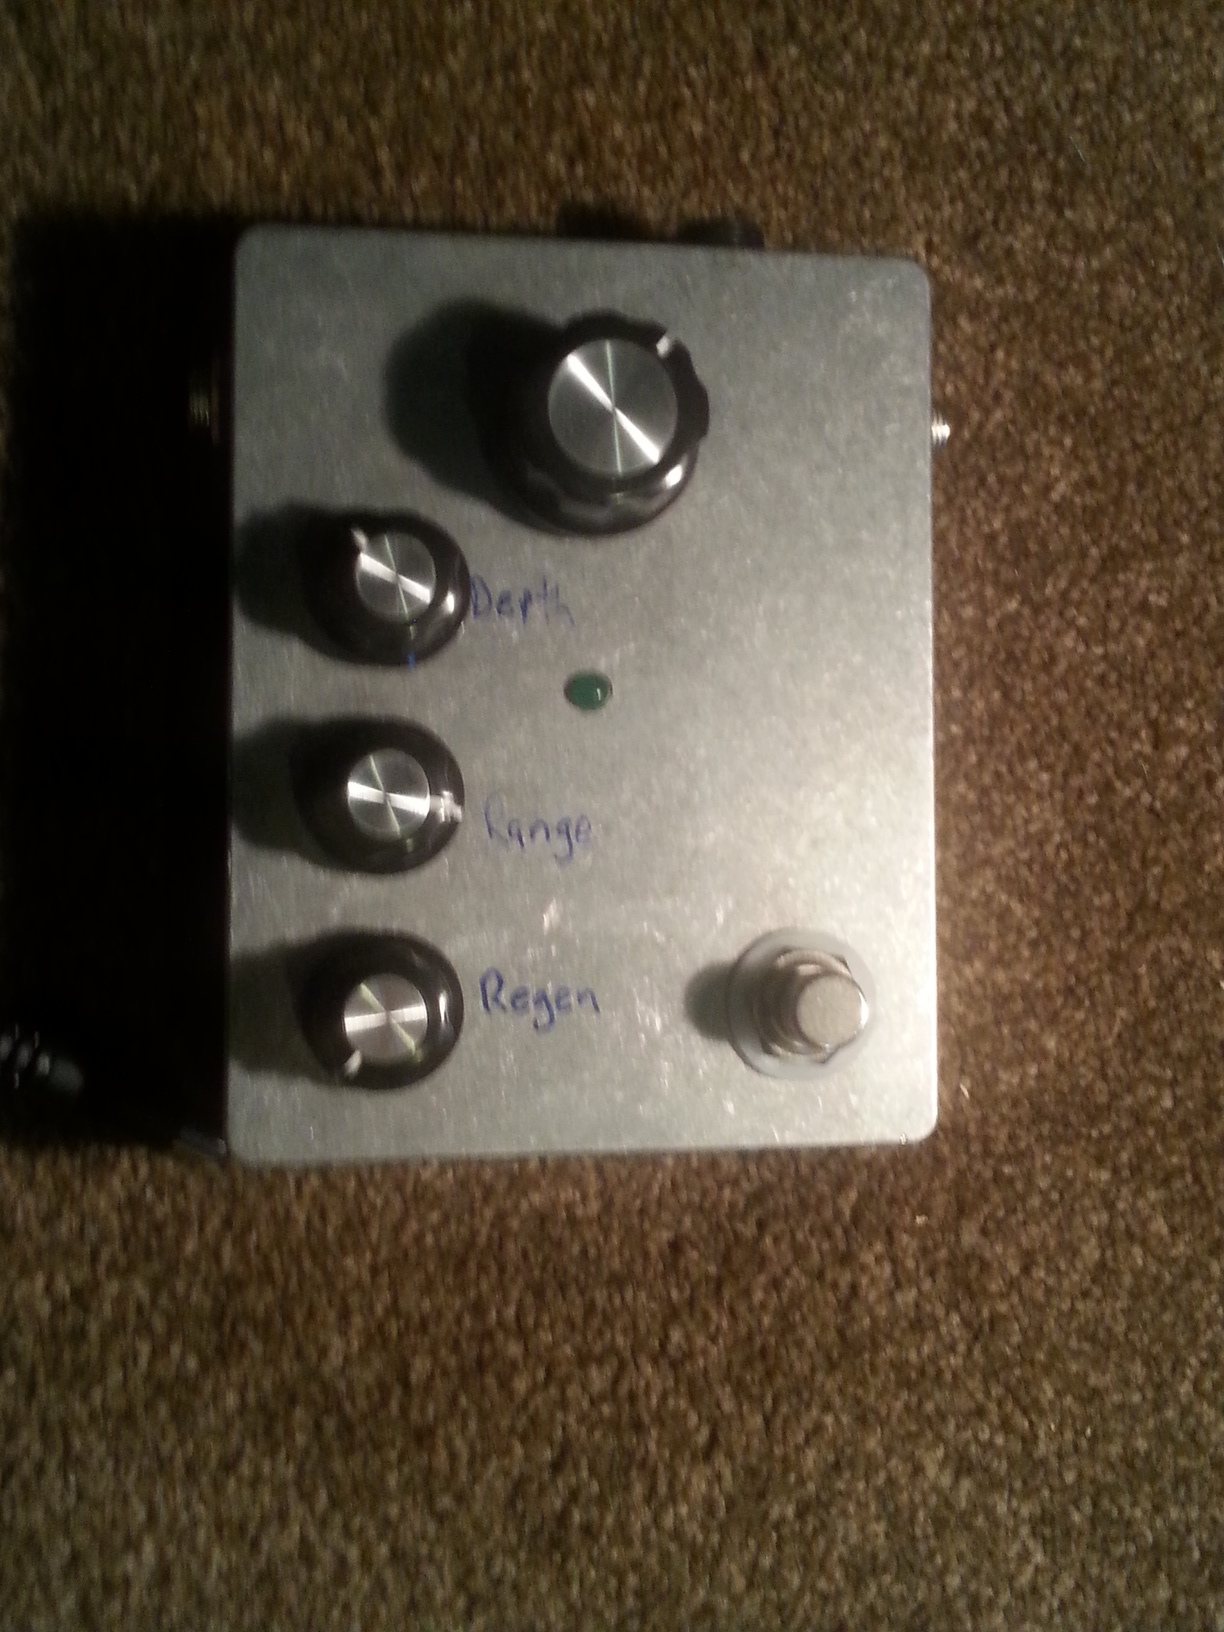
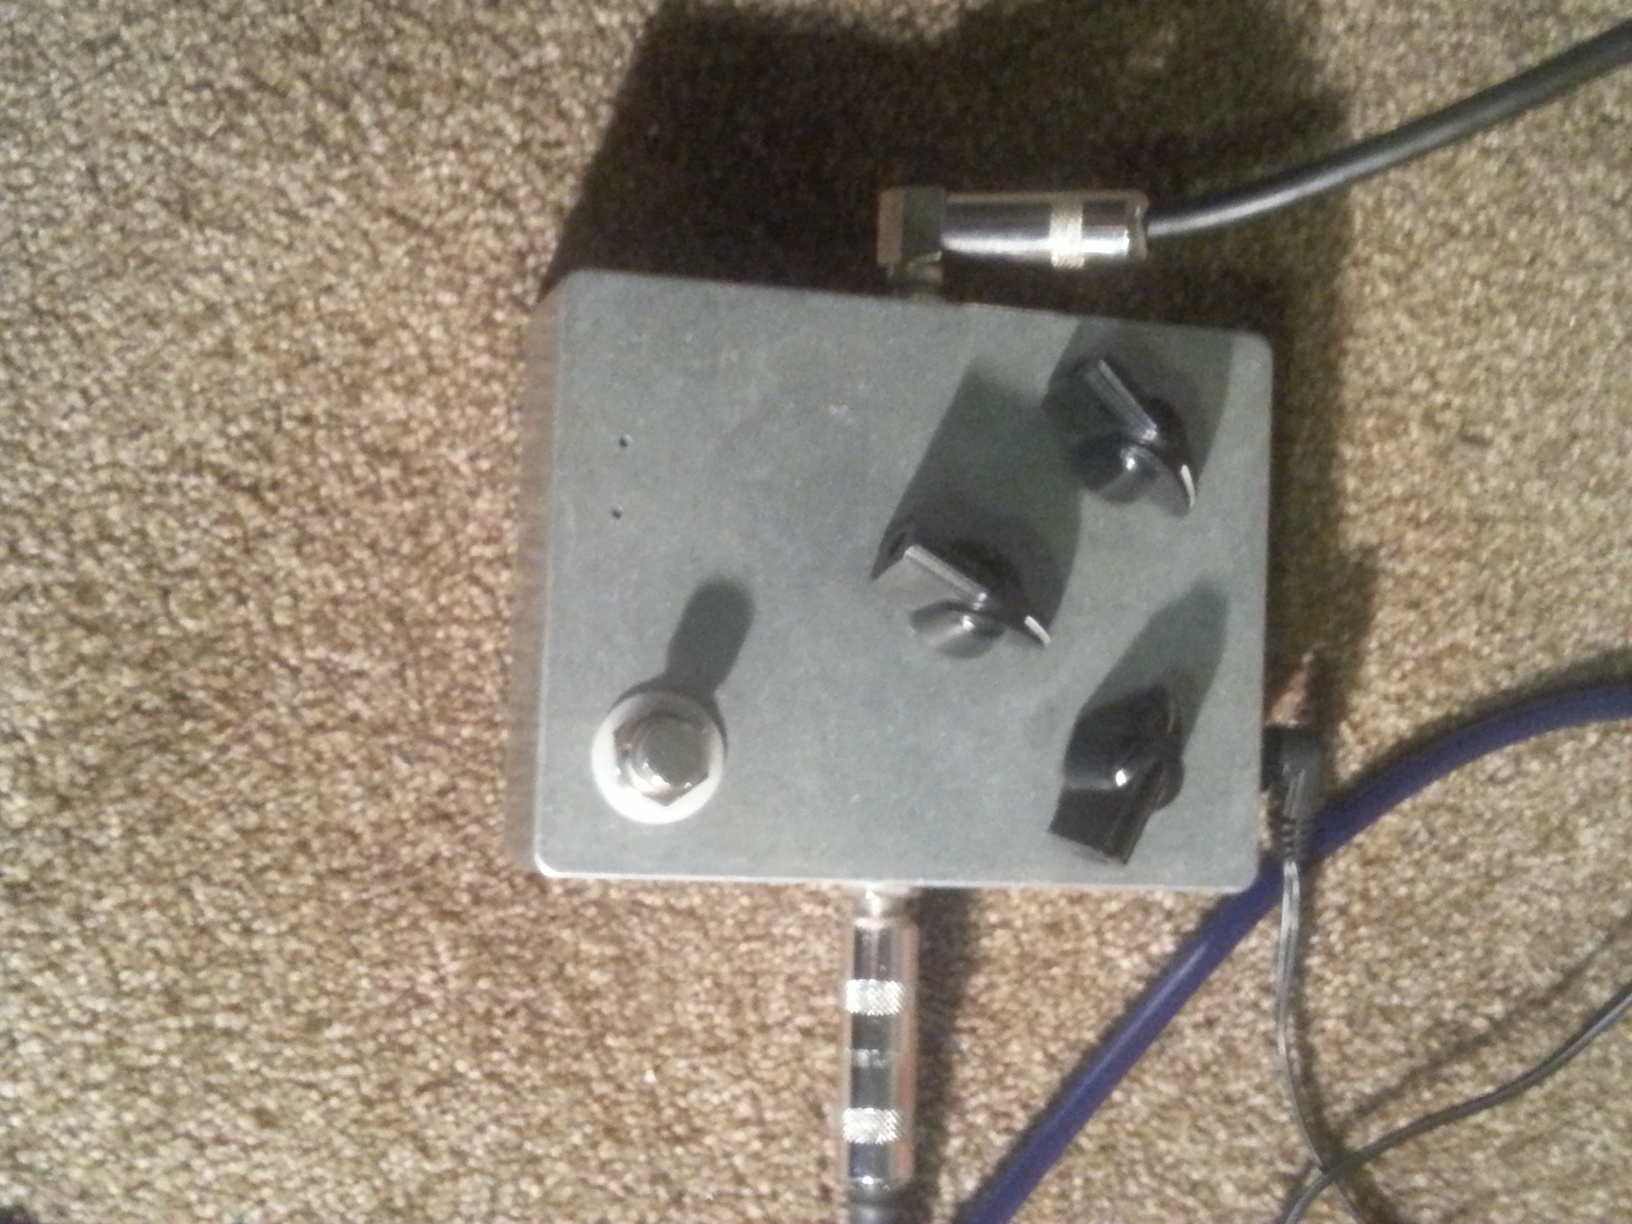
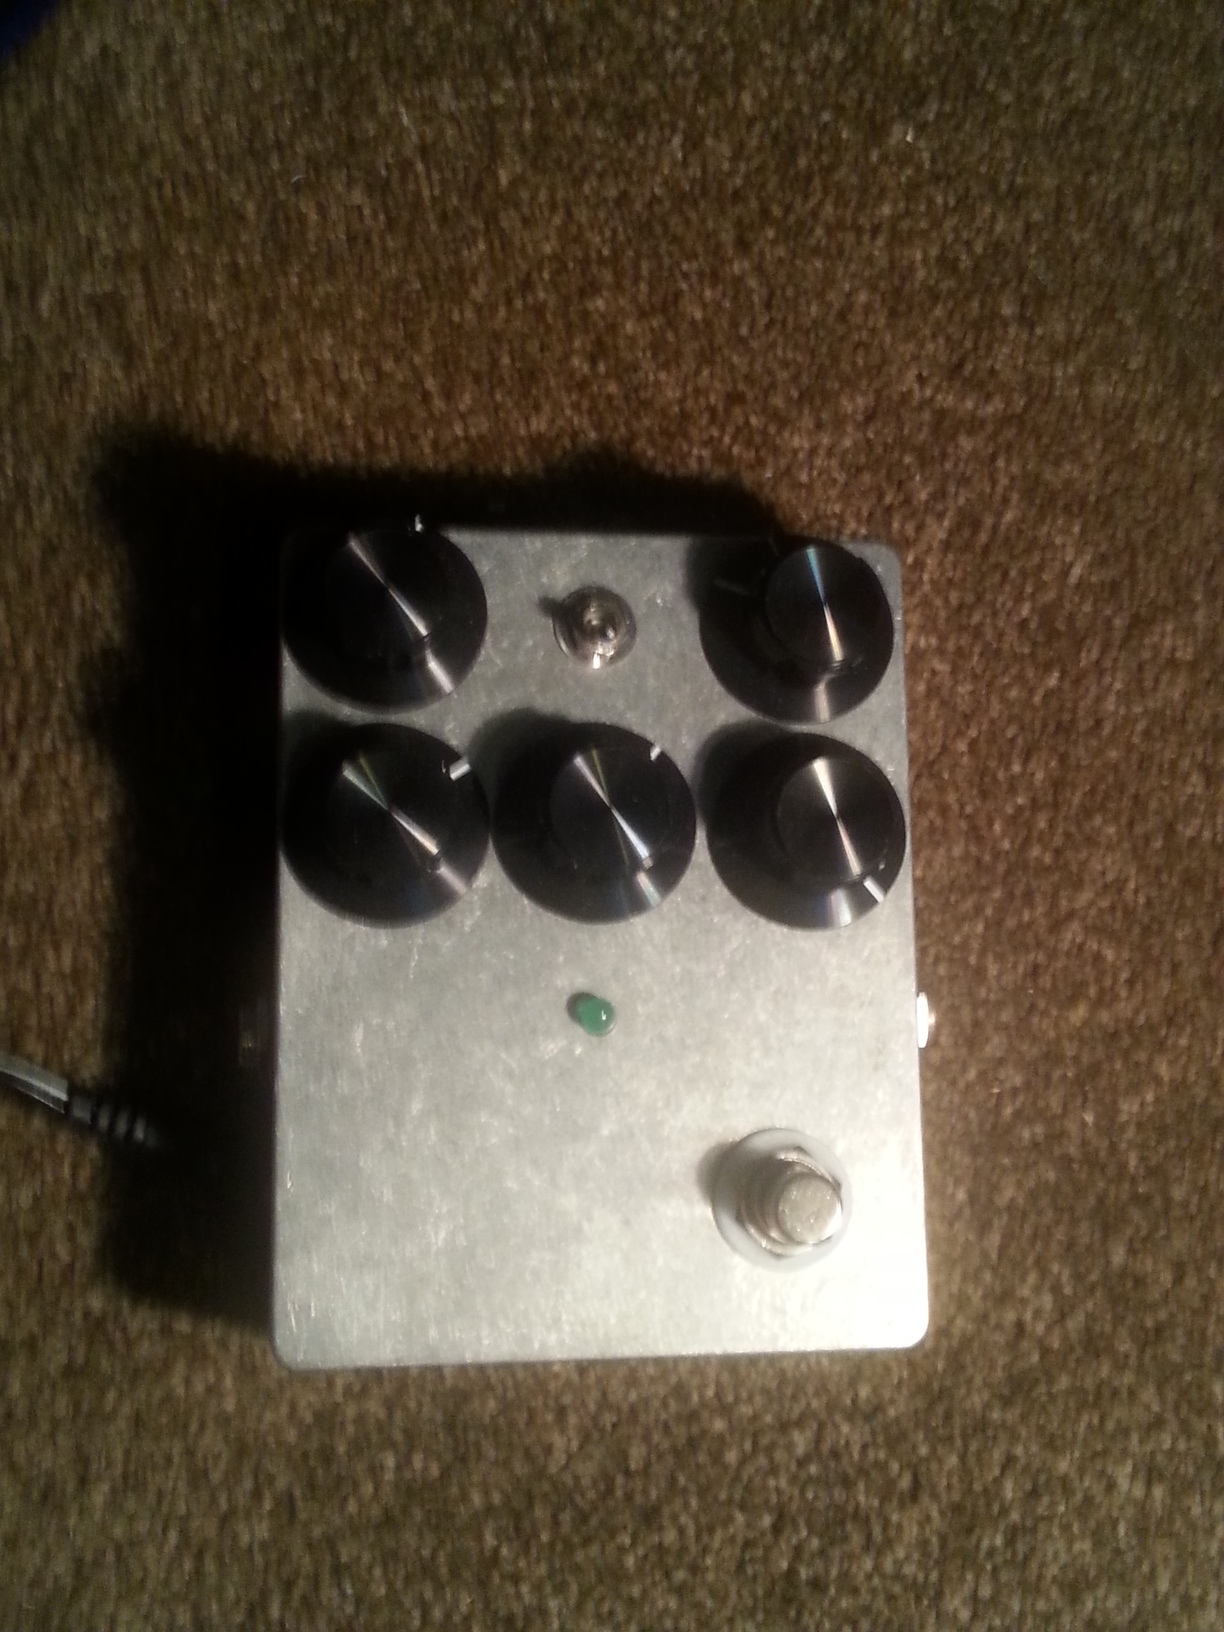
This is my phaser pedal. The design is quite unique. The phase filter stages are based off the MXR Phase 90. This design uses four stages. The input/output and regenerative circuit is based on the Boss PH-1. The oscillator started out life as the design from the Phase 90, but eventually evolved into something different. I tried to use 5457 JFETs for the phase stages, but was unable to get the oscillator into the active resistance range of the FET. The oscillator was changed in response to this problem to work in an acceptable range to match the JFETs. In addition to the changes necessary to get the oscillator in the appropriate range, I added in two additional controls. The depth control adjusts the amplitude of the oscillator to vary the depth of the filter sweep range. The range control adjusts the bias of the oscillator, which adjusts the base frequency the filter is sweeping across. This allows a wide range of tonal options.

Ibanez Tube Screamer clone

This is the first effects pedal I made. It is a clone of the Ibanez Tube Screamer. while I made no real modifications to the circuit, it has proved a reliable and nice sounding pedal.

Semi-hollow body Telecaster style guitar

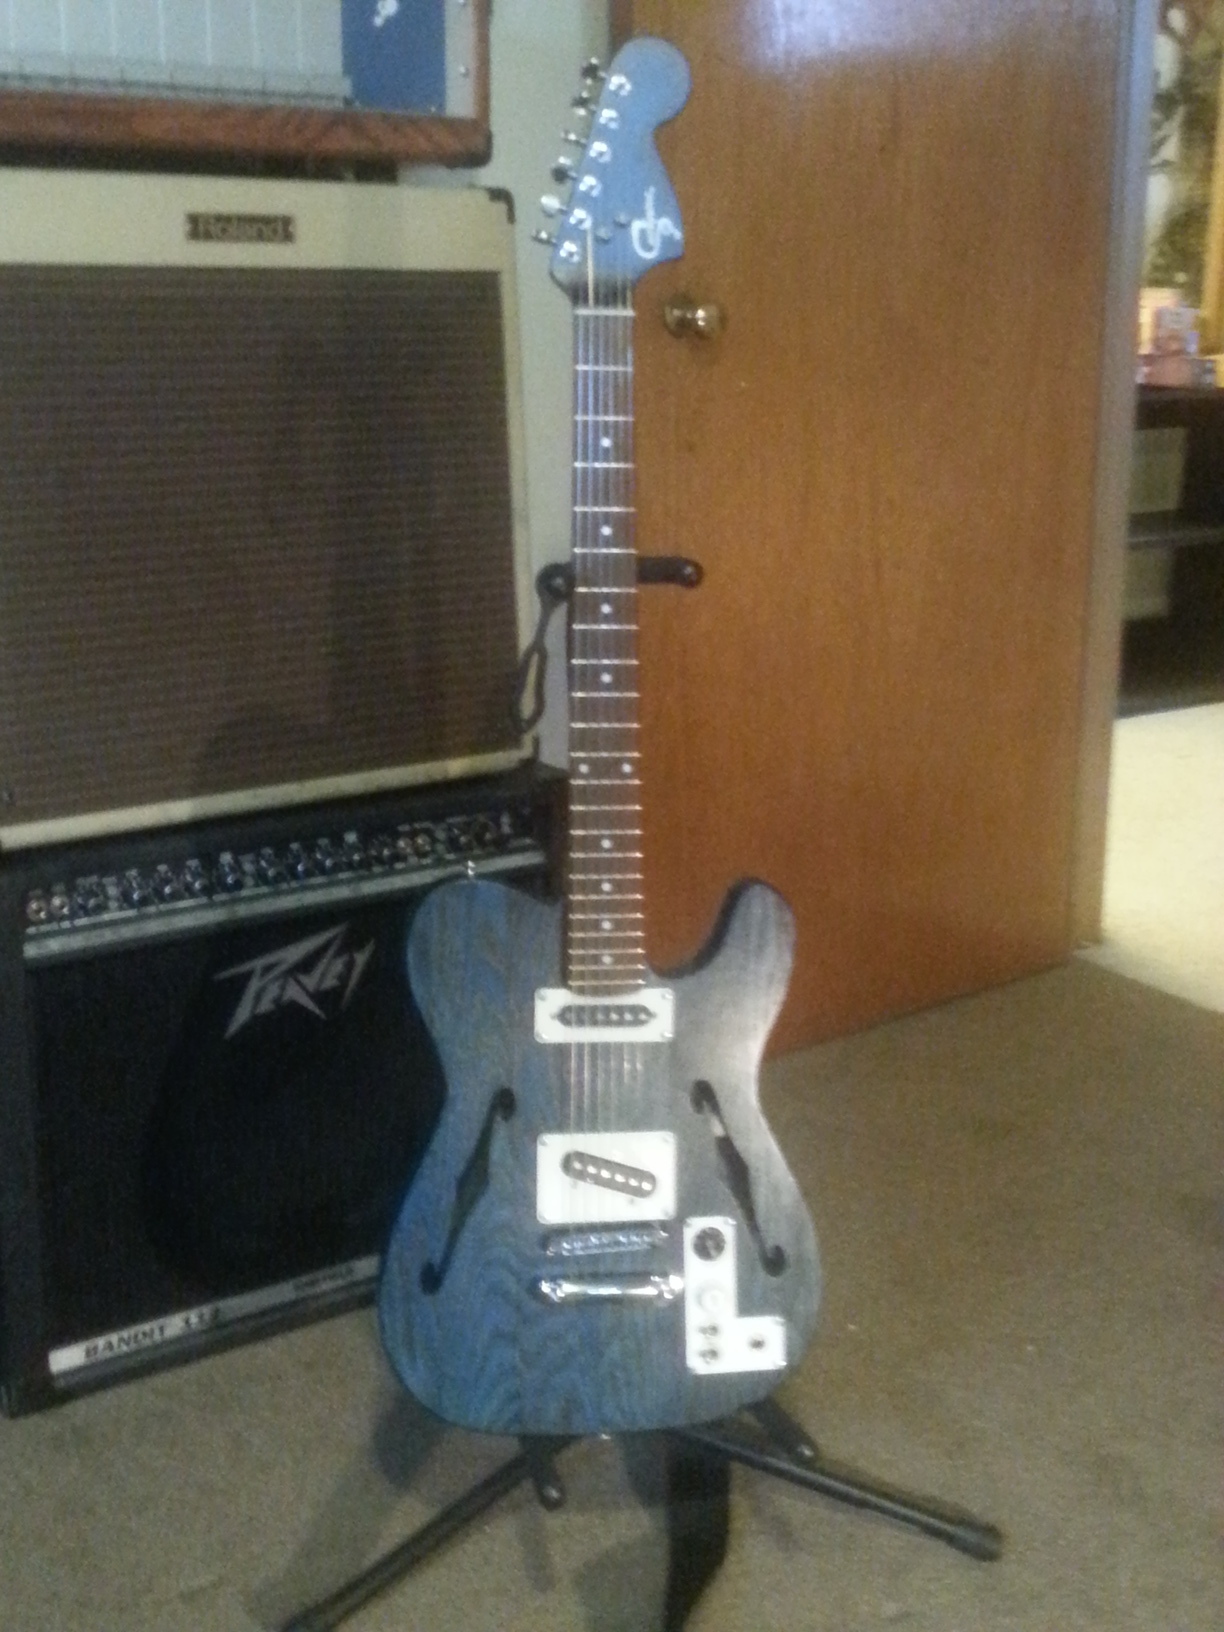
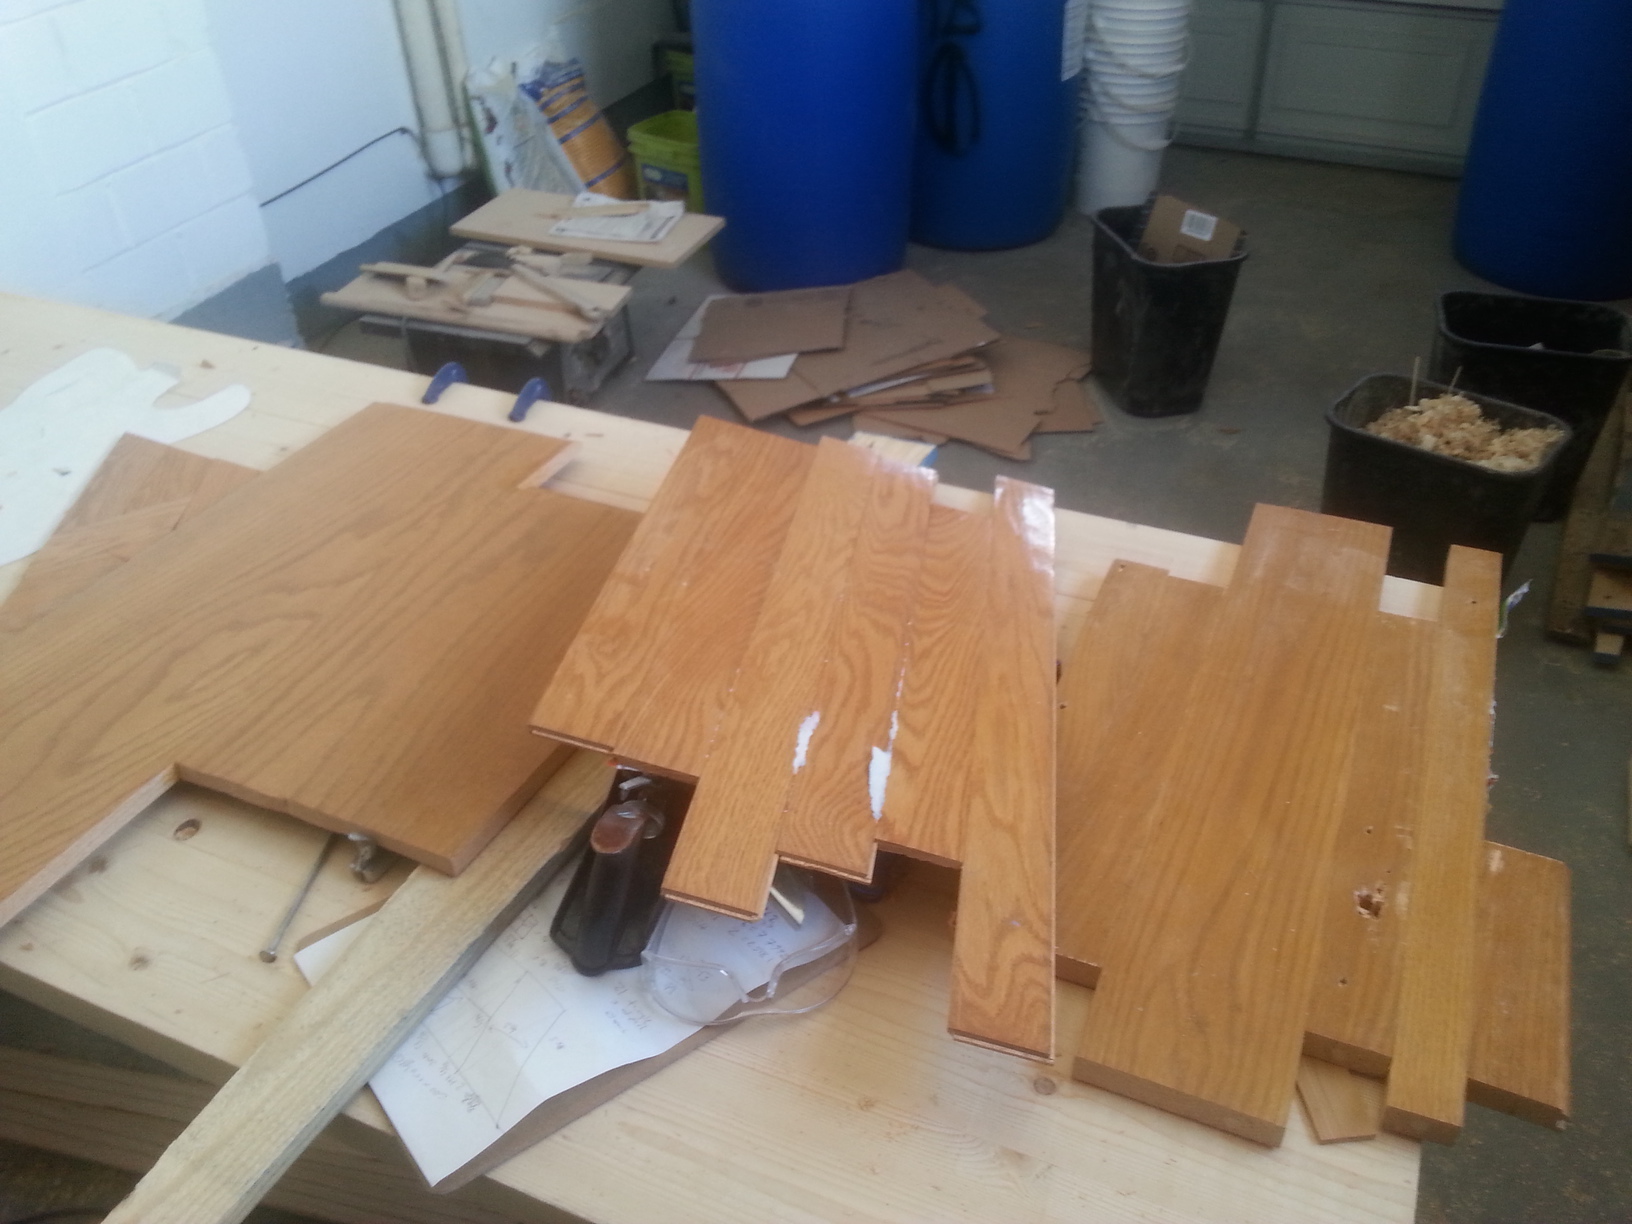
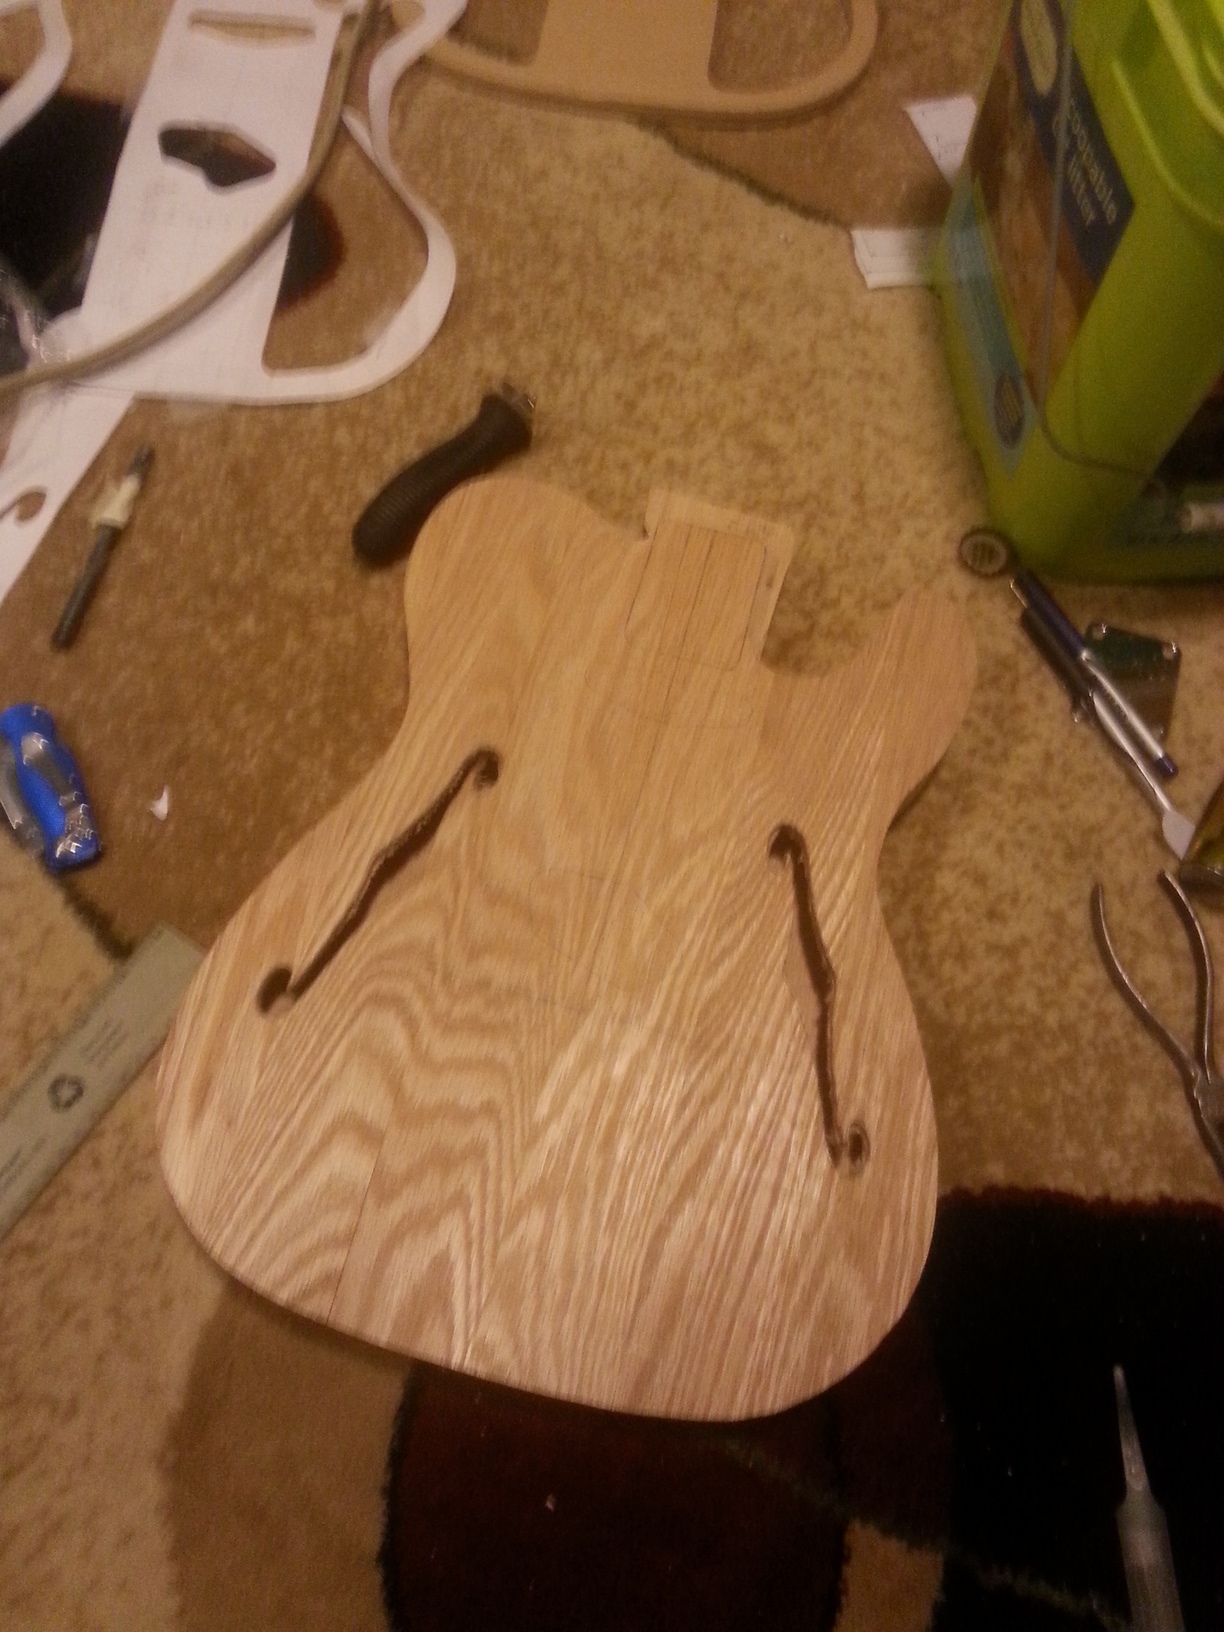
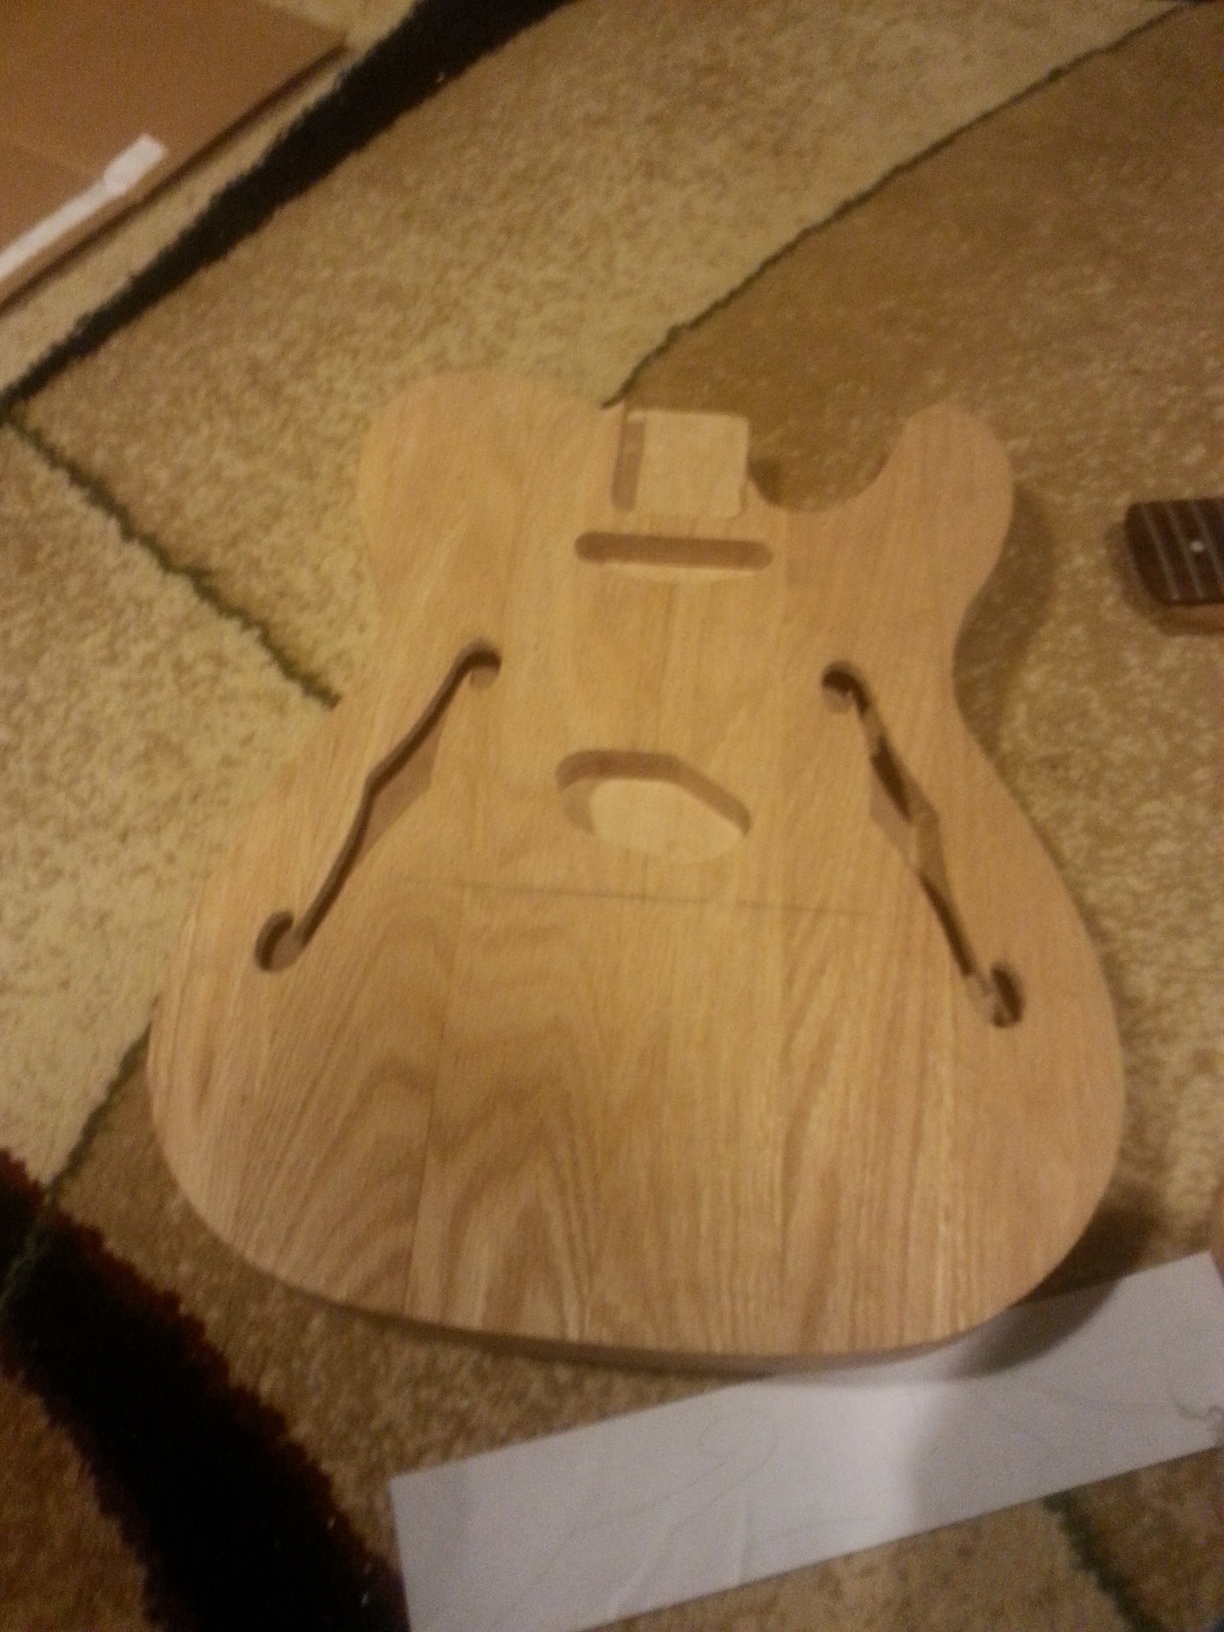
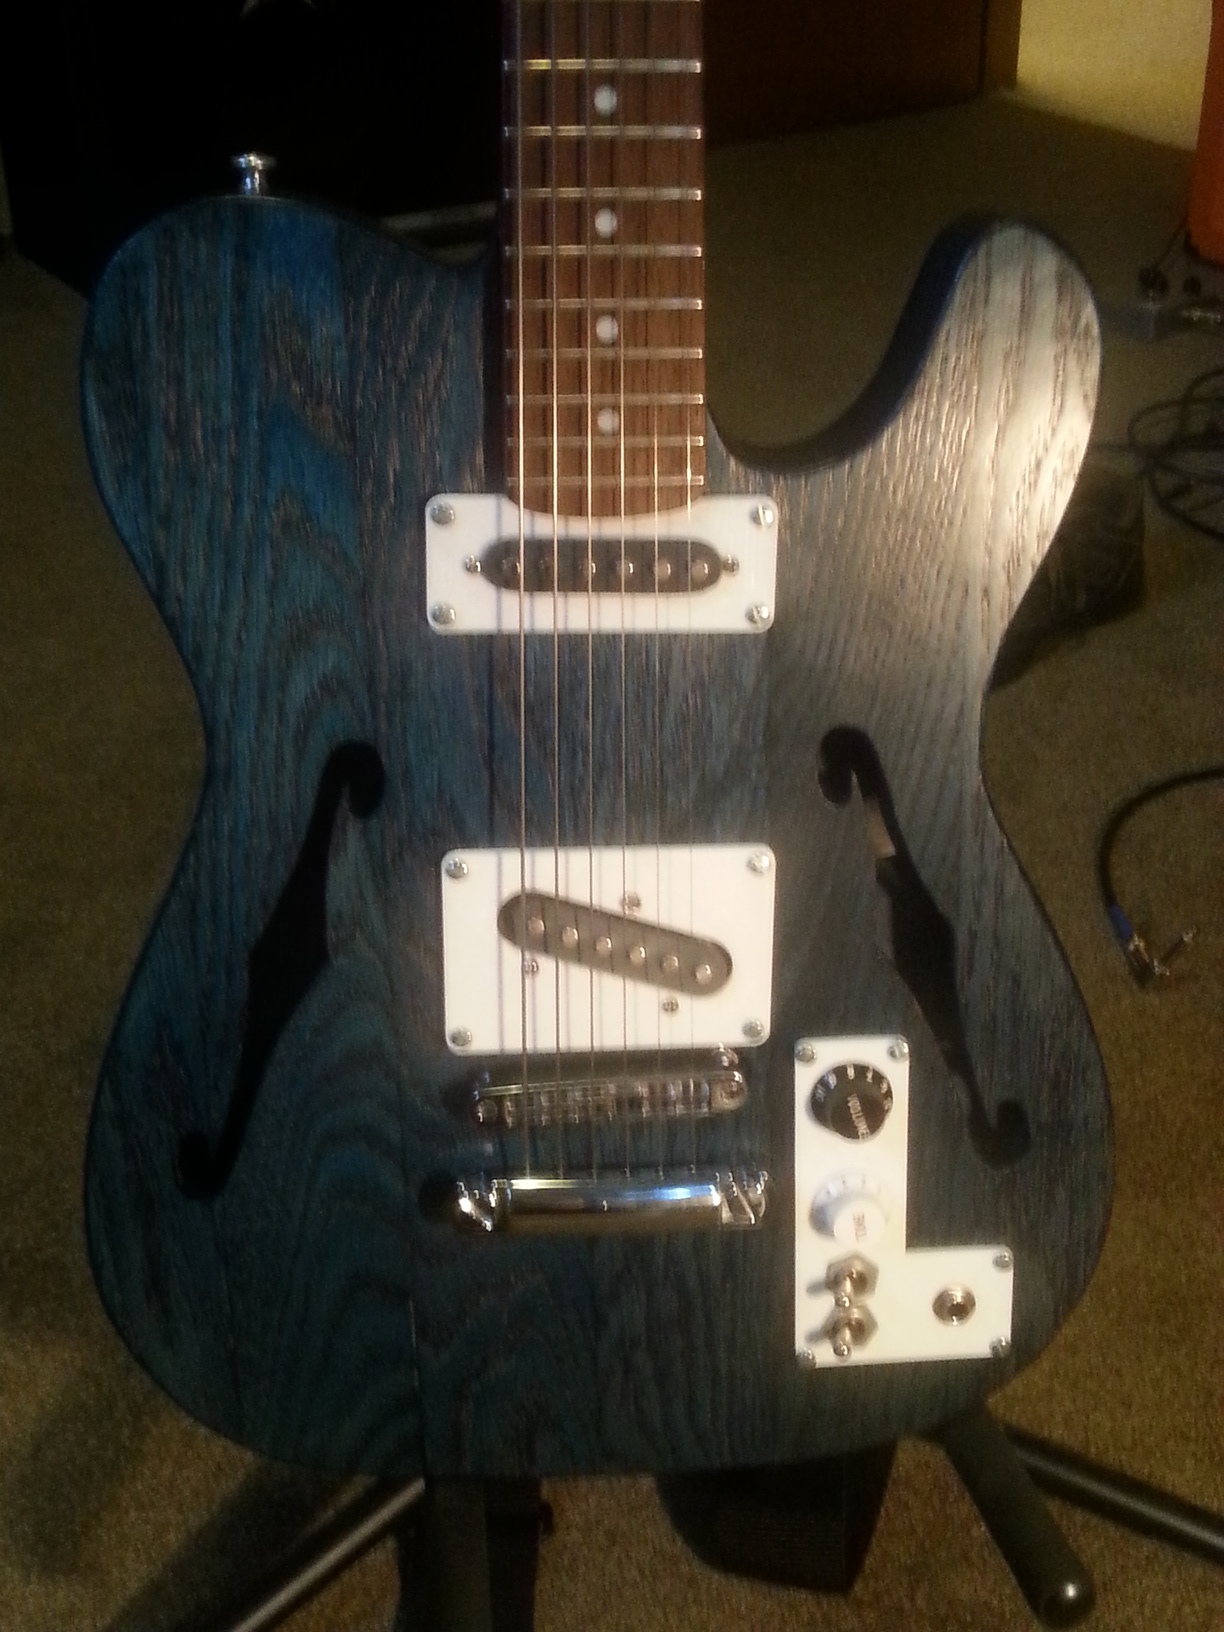
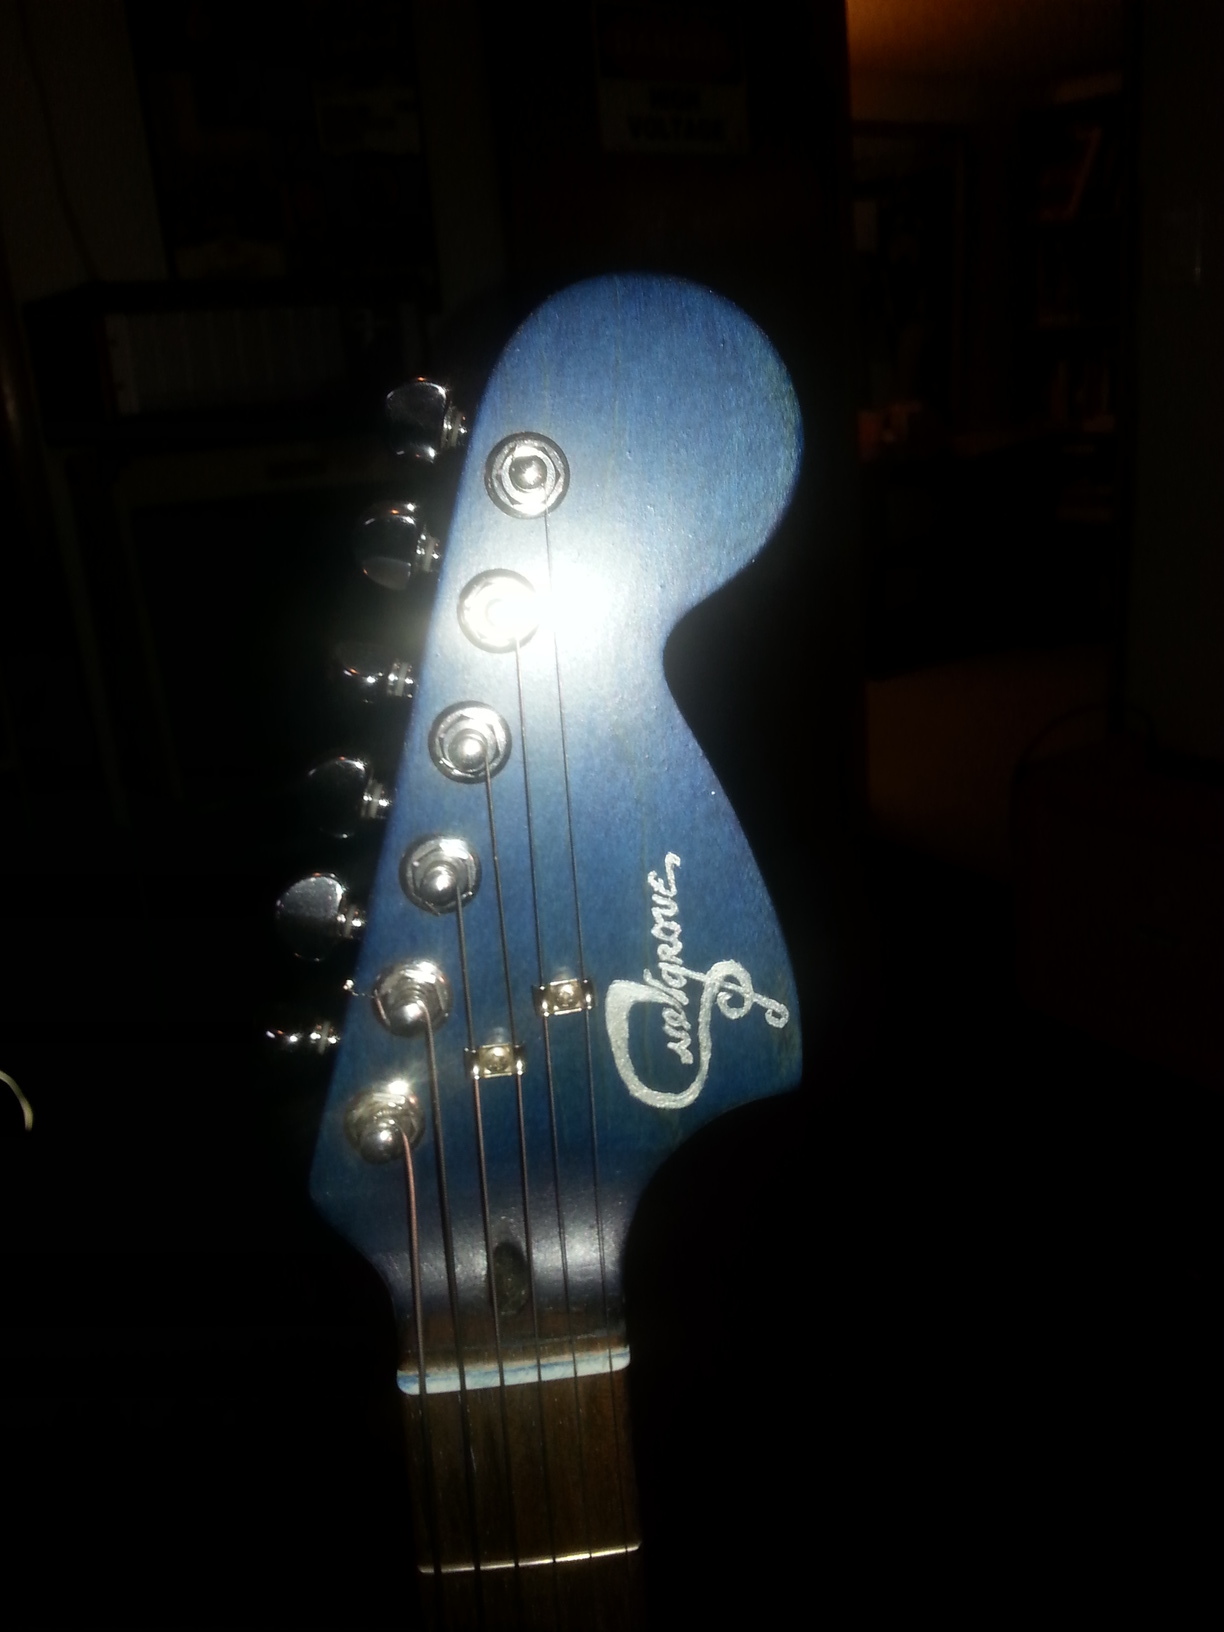
This is my custom telecaster style semi-hollow guitar. Body is made of reclaimed oak cabinet and the cap from oak flooring. The body is routed with two large chambers with f-holes. The neck is from a squier stratocaster, refinished and dyed, and painted with my logo.

The body was dyed with aniline dyes from Keda. The oak doesn’t soak up the dye as much as the instructions indicated. The maple in the neck took the dye very aggressively and turned a deep blue with a few brief coats. The oak required the dye to sit for several minutes, and required many coats. The denser tubules in the grain didn’t take the dye well. After letting it soak in, the grain turned blue, albeit still fairly light. The result is a somewhat weathered look.

Finish is polyurethane. The surface has a nice tactile texture from the oak. Without grain filler, the surface doesnt have the glassy finish most guitars will have, but the feel is still good.

Despite being oak, the weight and balance are quite good. The guitar actually weighs less that my Les Paul style ESP.

The hardware is all in chrome. I added a set of Grover tuners as the neck had none. The bridge assembly is from a Gibson SG. Pickups are jury rigged from the cheap pickups I got with the neck. Bridge pickup has a metal plate holding up the pickup to emulate a telecaster configuration. Real pickups will come eventually. Pickup plates and the control plate are 3D printed for prototyping. I am currently machining plates out of stainless steel.

The chambers produce a very subtly different sound compared to my solid body. There isn’t nearly as much resonance as I had expected. The cap is a quarter inch thick, and acts as a soundboard. I was concerned about the tension from the strings and the strength of the body. The center axis is solid and the chambers are routed on the sides. This doesnt transmit as much vibration as expected.

There are a number of changes i want to try for the next guitar. The strength of the body was not as much a problem, and more material could be removed from the body. The soundboard could be drastically thinner than the quarter inch flooring. A larger chamber would mean the bridge could be mounted over the chamber to increase the transmission to the soundboard. The side of the guitar was made up of endgrain. The endgrain of the body ended up being a patchwork due to the variety of size pieces in the glue up. The end grain was much more difficult to finish. The body started out solid and a large amount of waste material was routed out. The more traditional technique would be to steam bend the sides to shape then glue the top on. This would be nice looking and allow sides to be thin yet strong. I enjoy working with oak, especially given the ready availability of high grade wood panels with decorative grain. While not a traditional tonewood, the results have been most satisfactory.
Glue up of the layers.Body cavities routed and top glued down.Fully routed pickup and neck pockets.

Wampler overdrive clone

This is my Wampler ‘65 overdrive clone. Using the 5457 jfet does not provide enough gain at 9 volts to get a really saturated overdrive. J201 jfets provide a higher gain. Running a much higher voltage would give a larger operating range for the transistor.

Envelope Filter Pedal

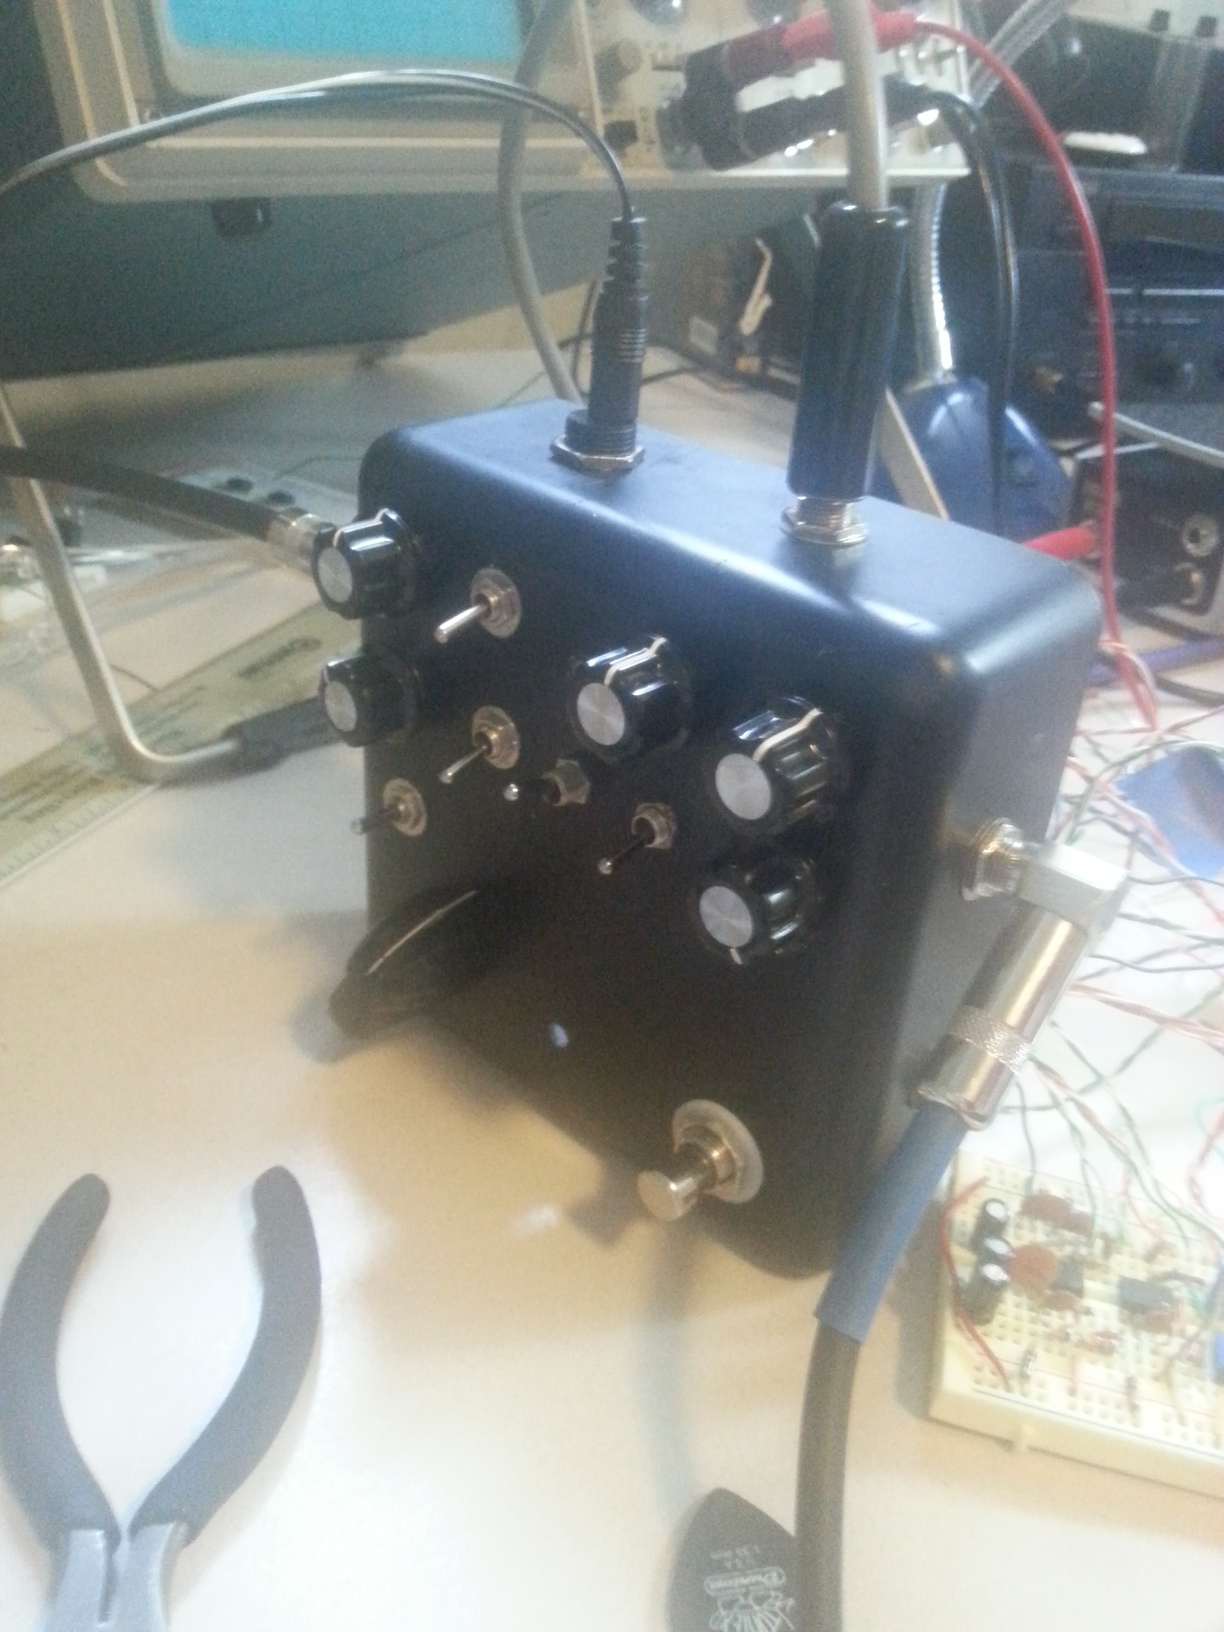
This is a Mu-tron III style envelope filter. The circuit is based around a state variable filter. The circuit has some novel variations of the basic filter. There is a send-receive loop so the envelope can be extracted and the filter applied further down the signal chain. The filter can be toggled between three frequency ranges. The attack and decay responses are independently adjustable. The output is mixable between the wet and dry signals. Finally, the filter can be switched from envelope control to an expression pedal to allow use as a pedal wah

“Space Boob” fuzz pedal

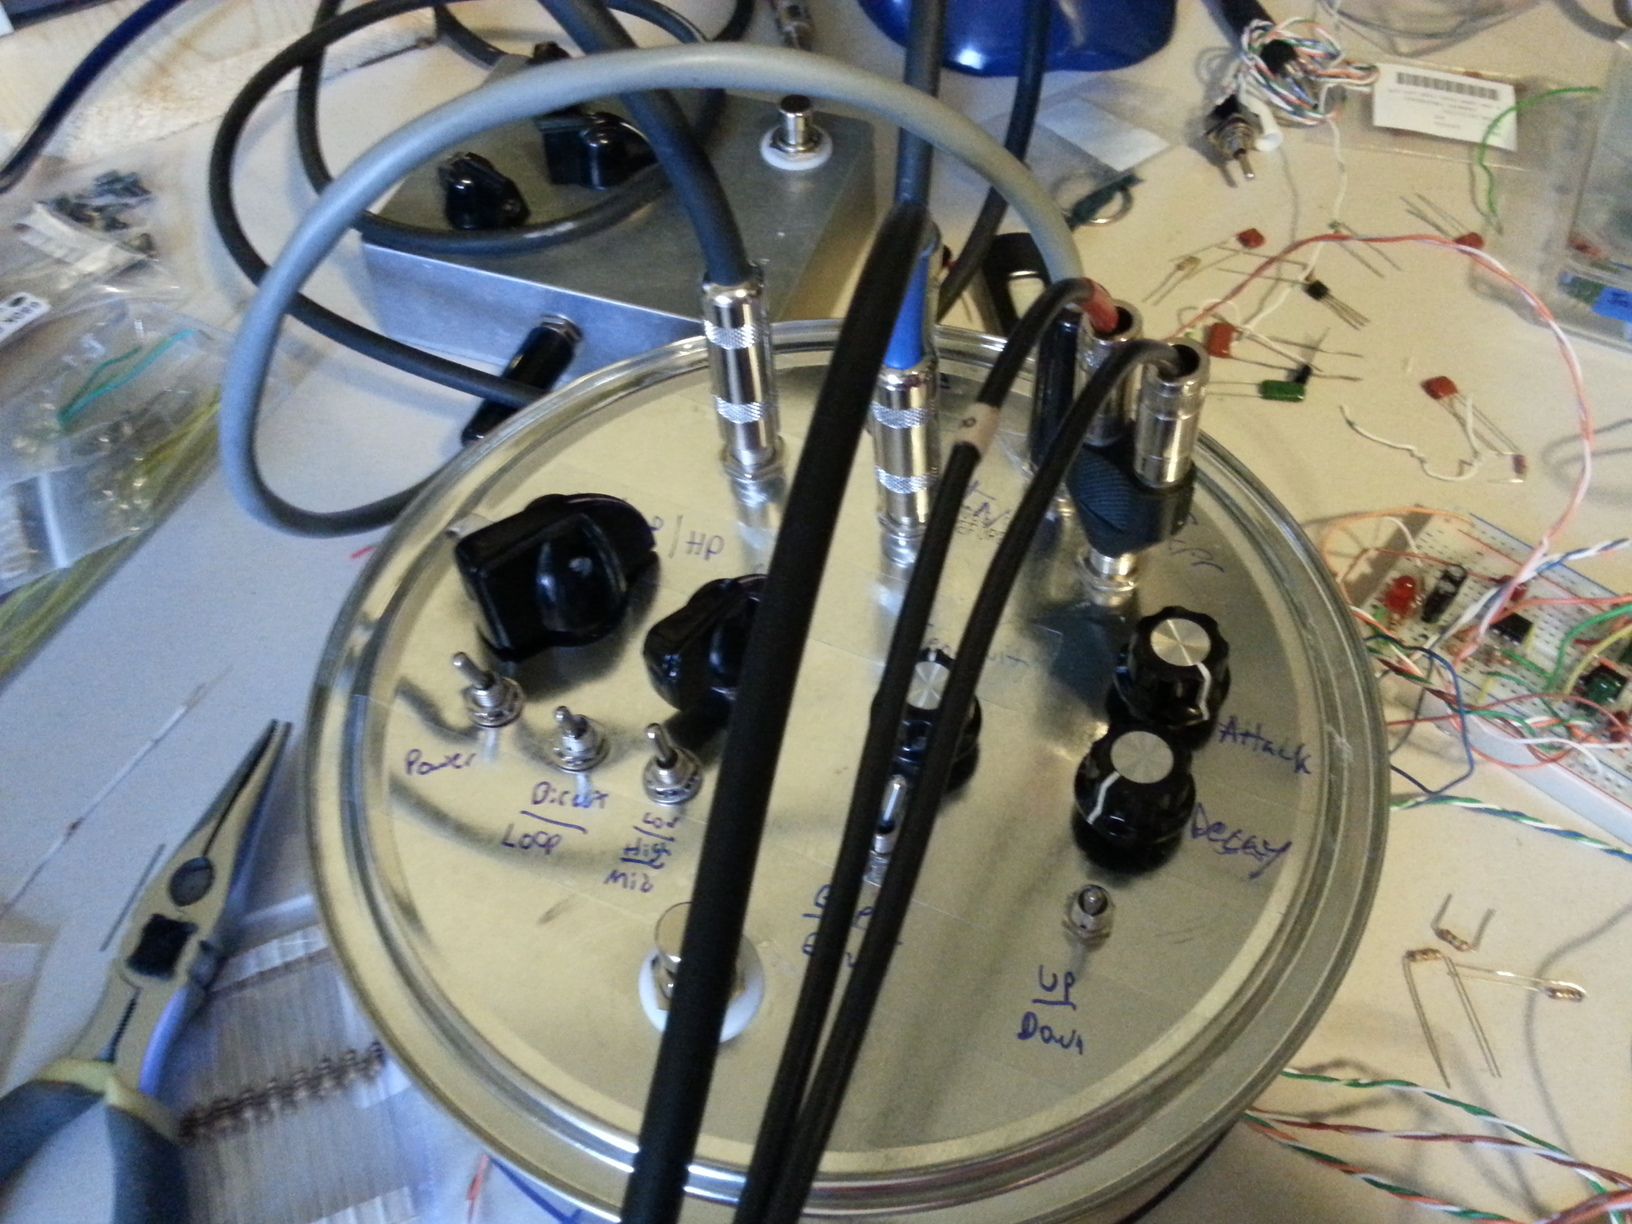
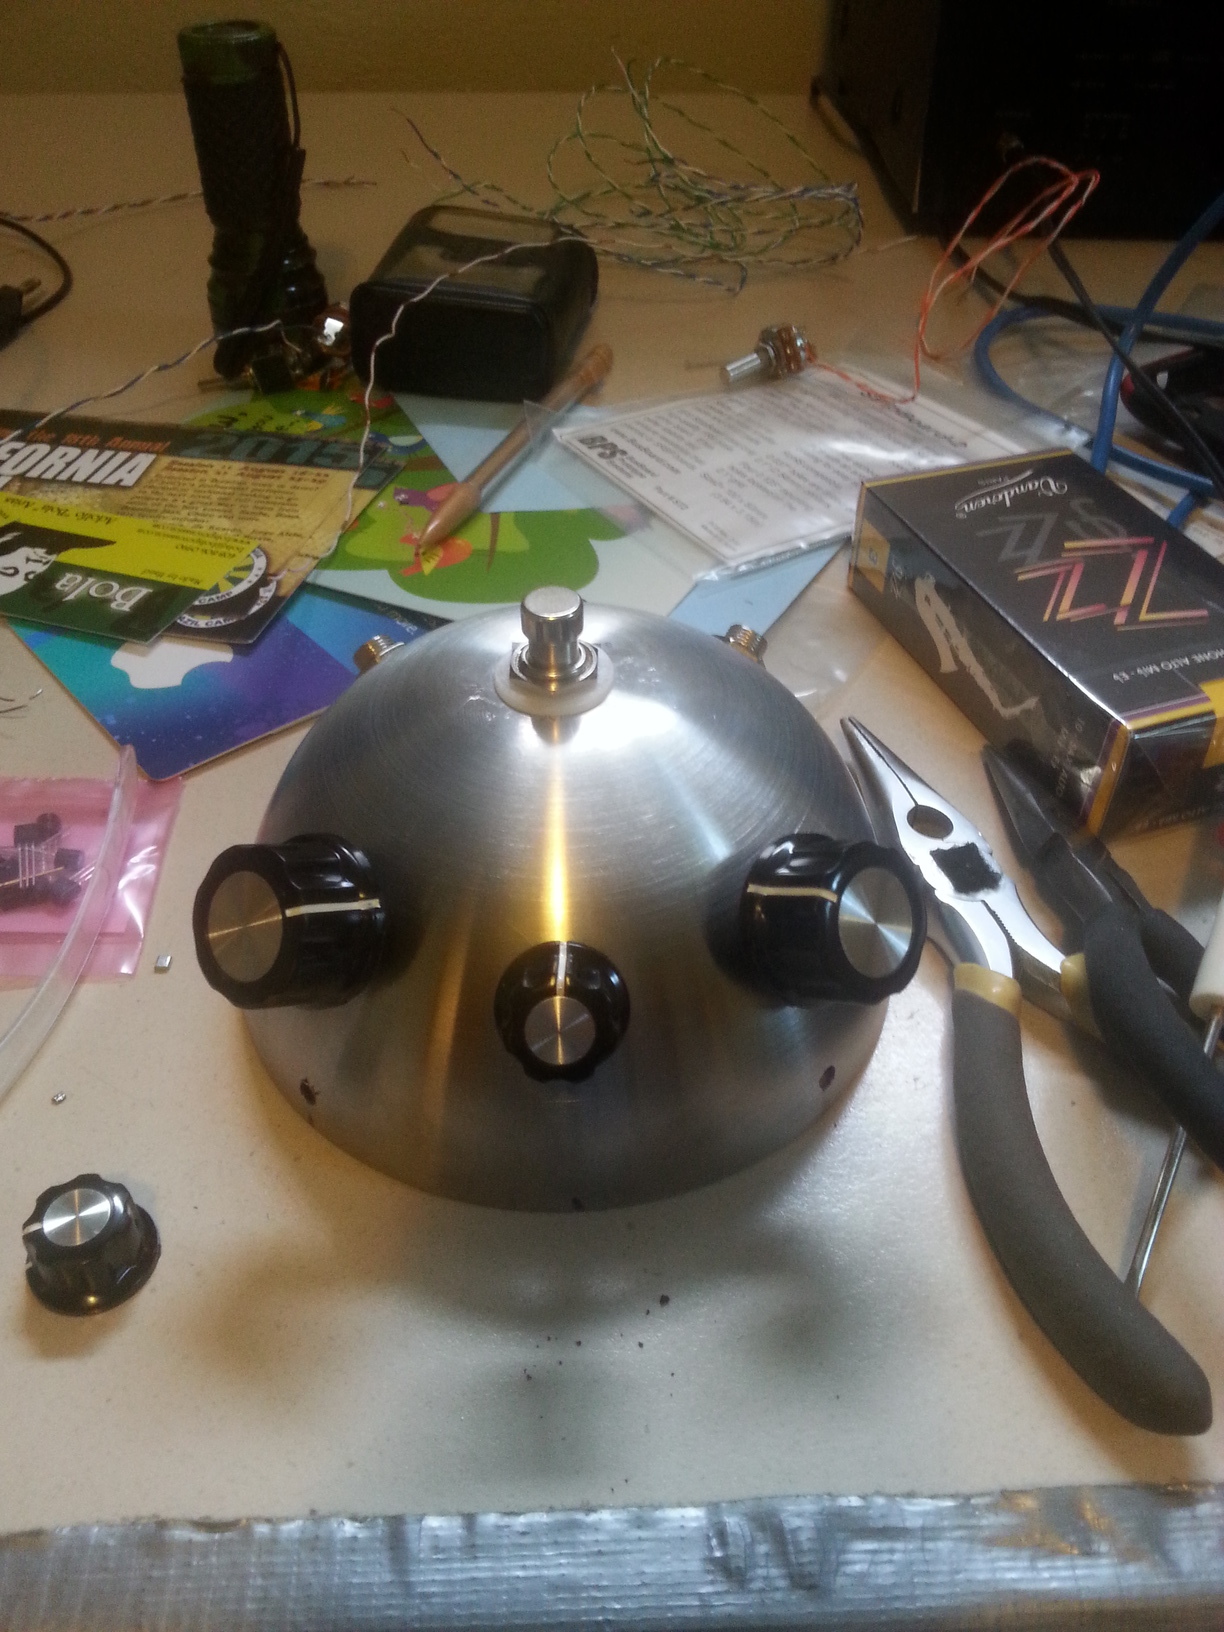
Named the “Space Boob” by Miranda, this is a Big Muff fuzz pedal clone. The enclosure is a steel bowl.