Craftsman 101.02182 Table Saw Restoration
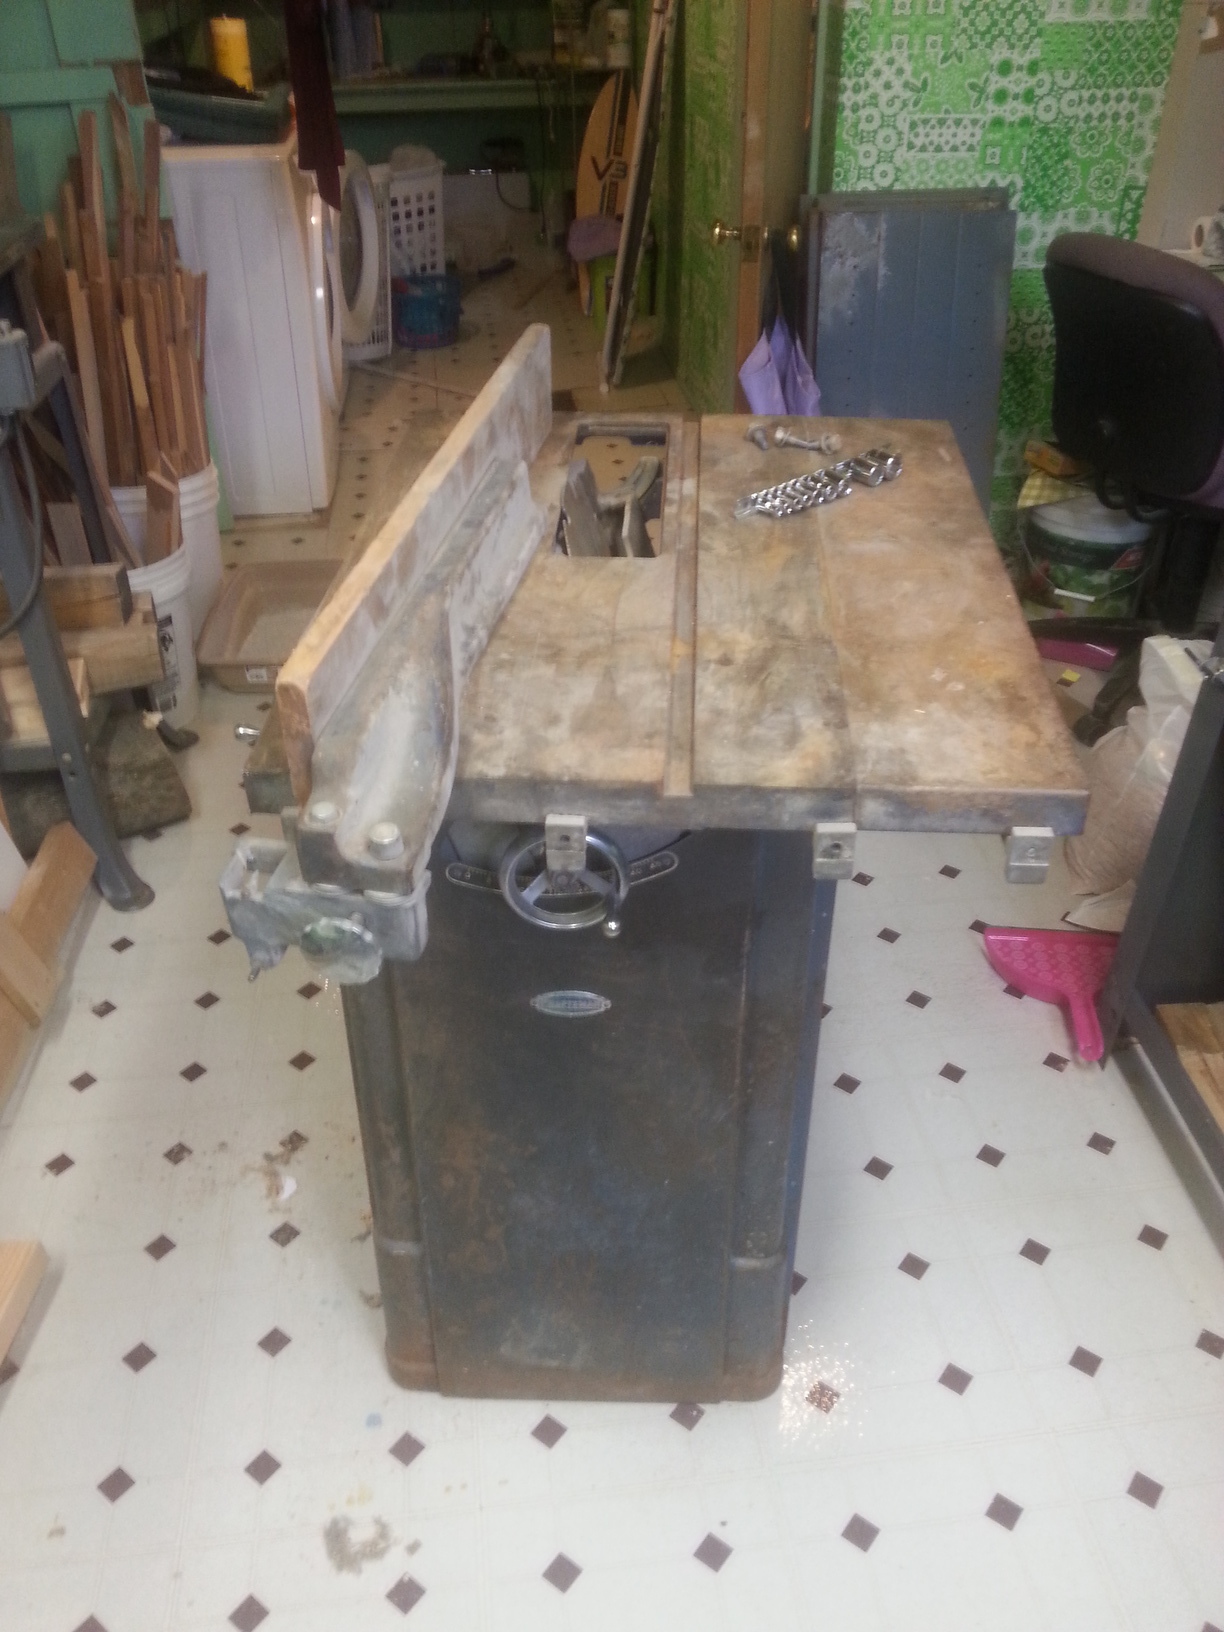
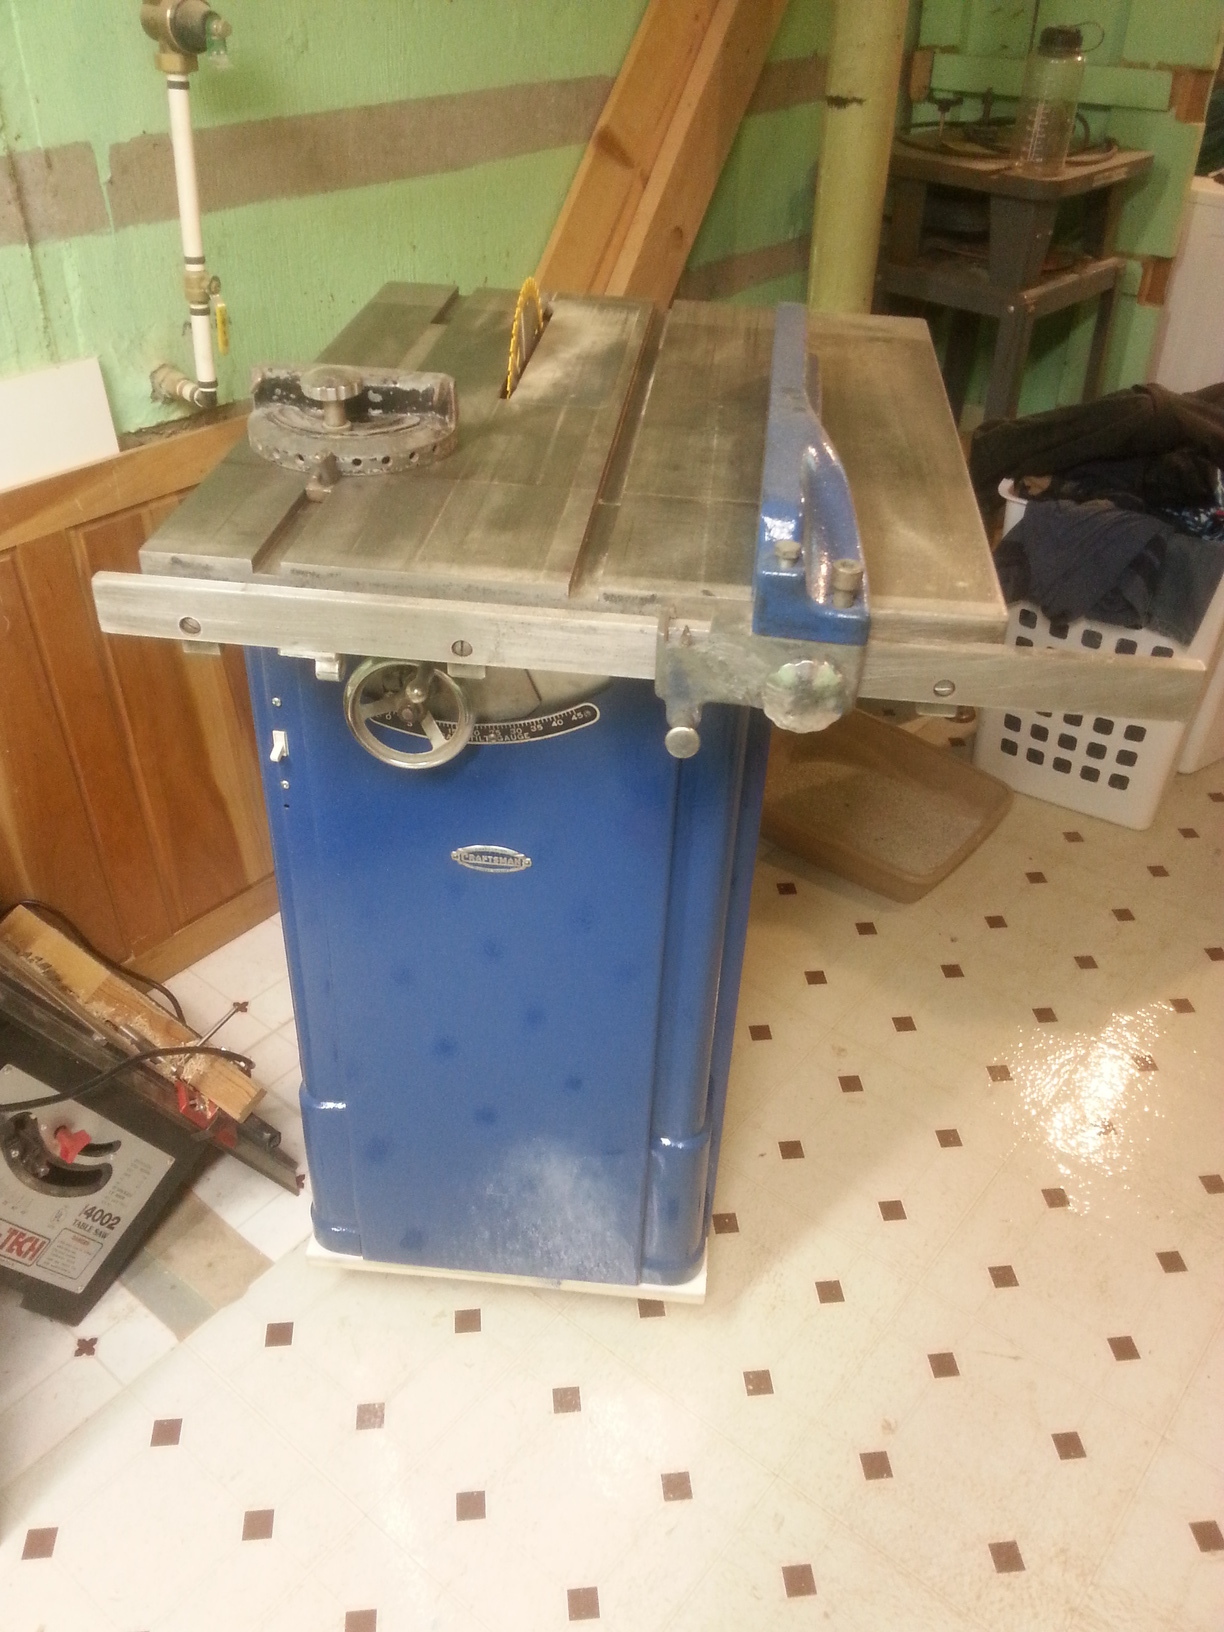
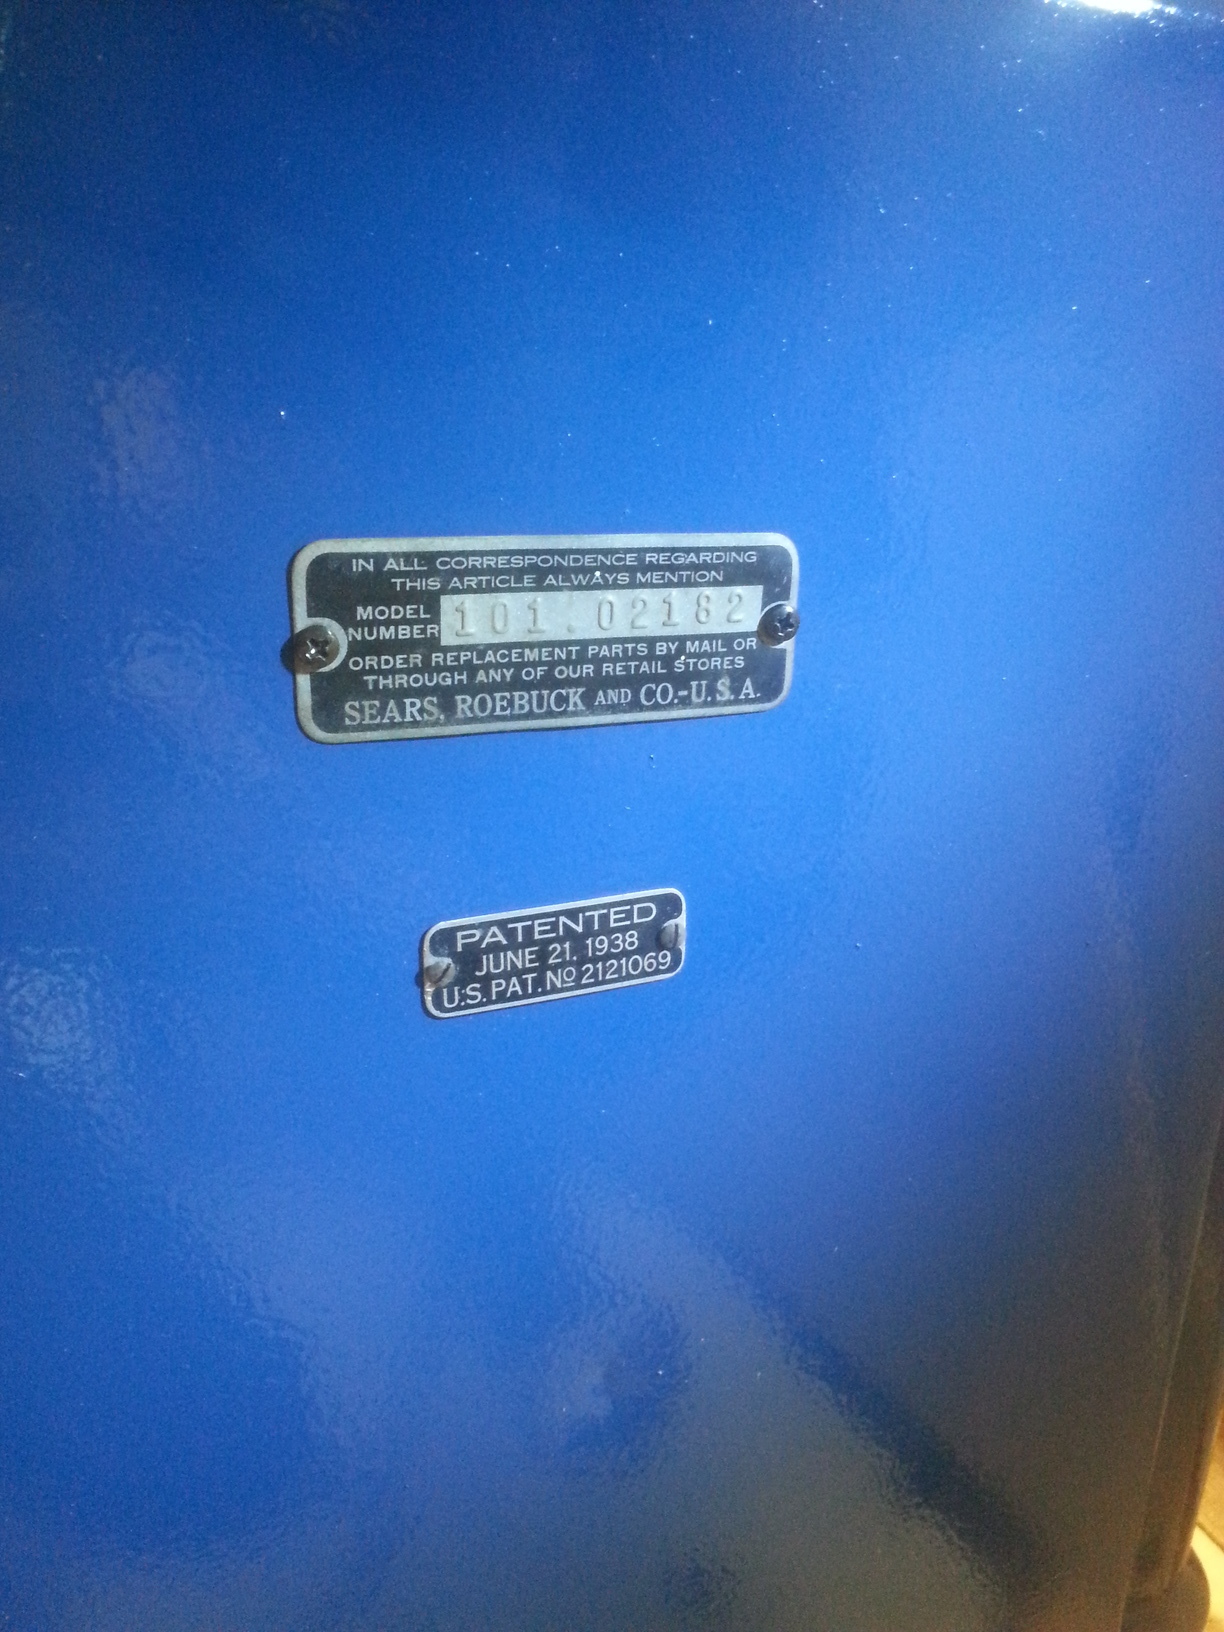
The latest antique machinery find: a Craftsman cabinet saw, model 101.02182 circa 1940. This saw was manufactured for Craftsman by Atlas Press Co. There is little information about this particular model, and reportedly was sold for only a year before being discontinued. It appears to be a variation on the more common 02180 model.
http://vintagemachinery.org/photoindex/detail.aspx?id=27664
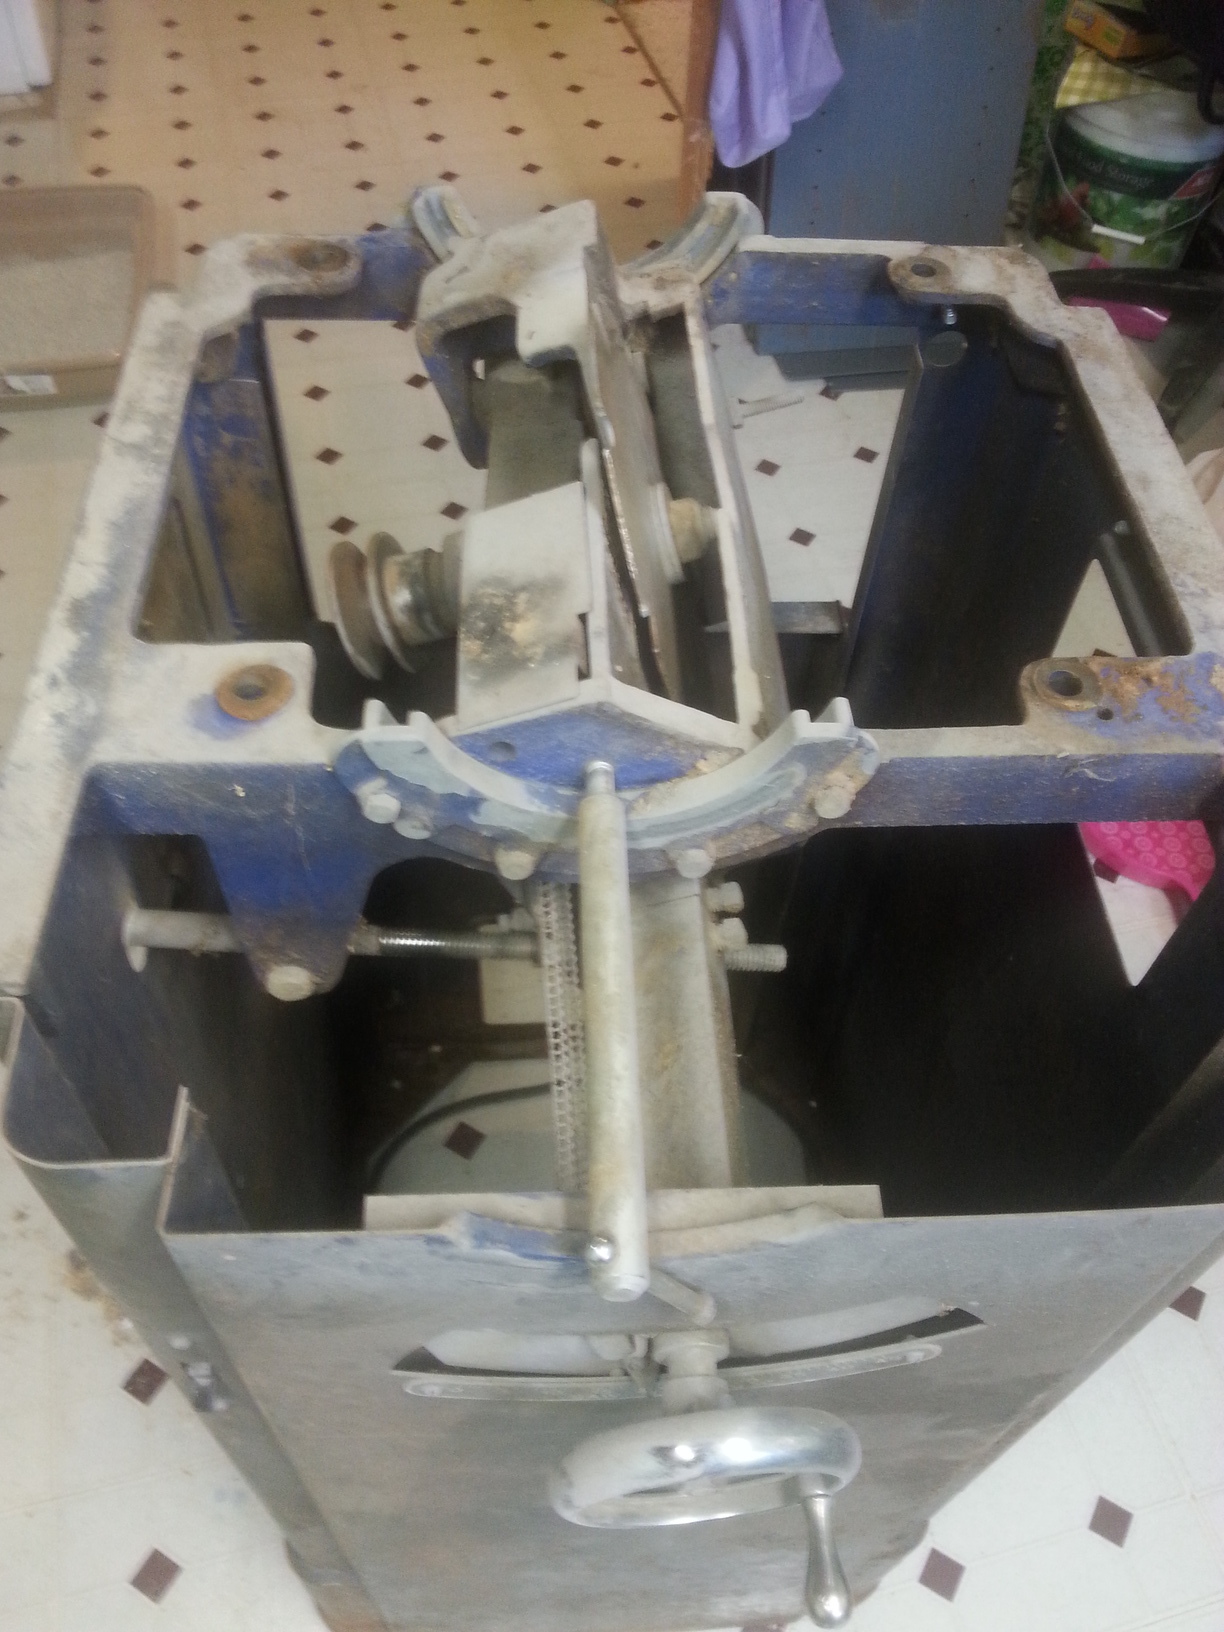
The saw came complete including miter gauge and fence. The whole thing was covered in rust, most severe at the base of the cabinet where it likely was exposed to standing water. The arbor and related mechanism were in excellent working condition with little rust, though covered in saw dust and grime. After cleaning and some lubrication the mechanisms work smoothly. I used pastewax for the gears and screws, which I need to investigate if that is the best option. The bearing has a port on the bottom which appears to be for lubricant. There is a mess of goop in there, and it runs smoothly, so I am leaving it alone for now.
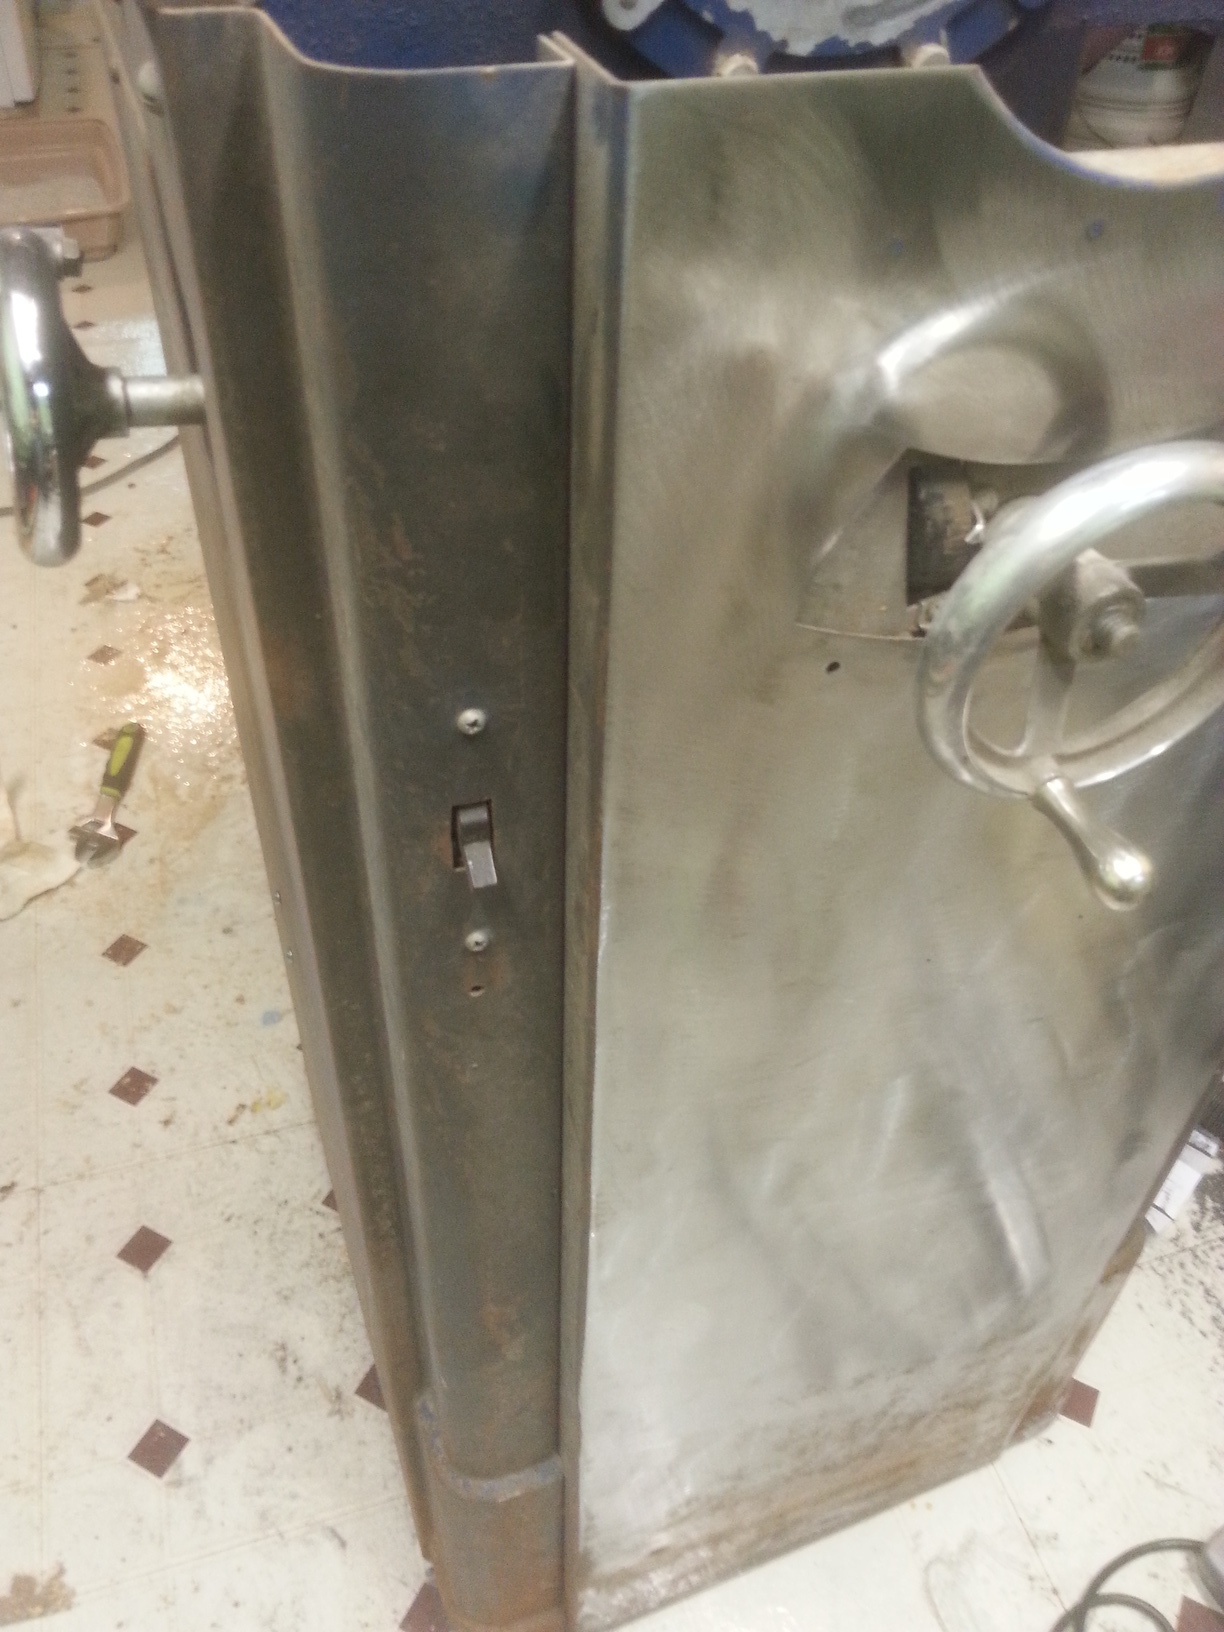
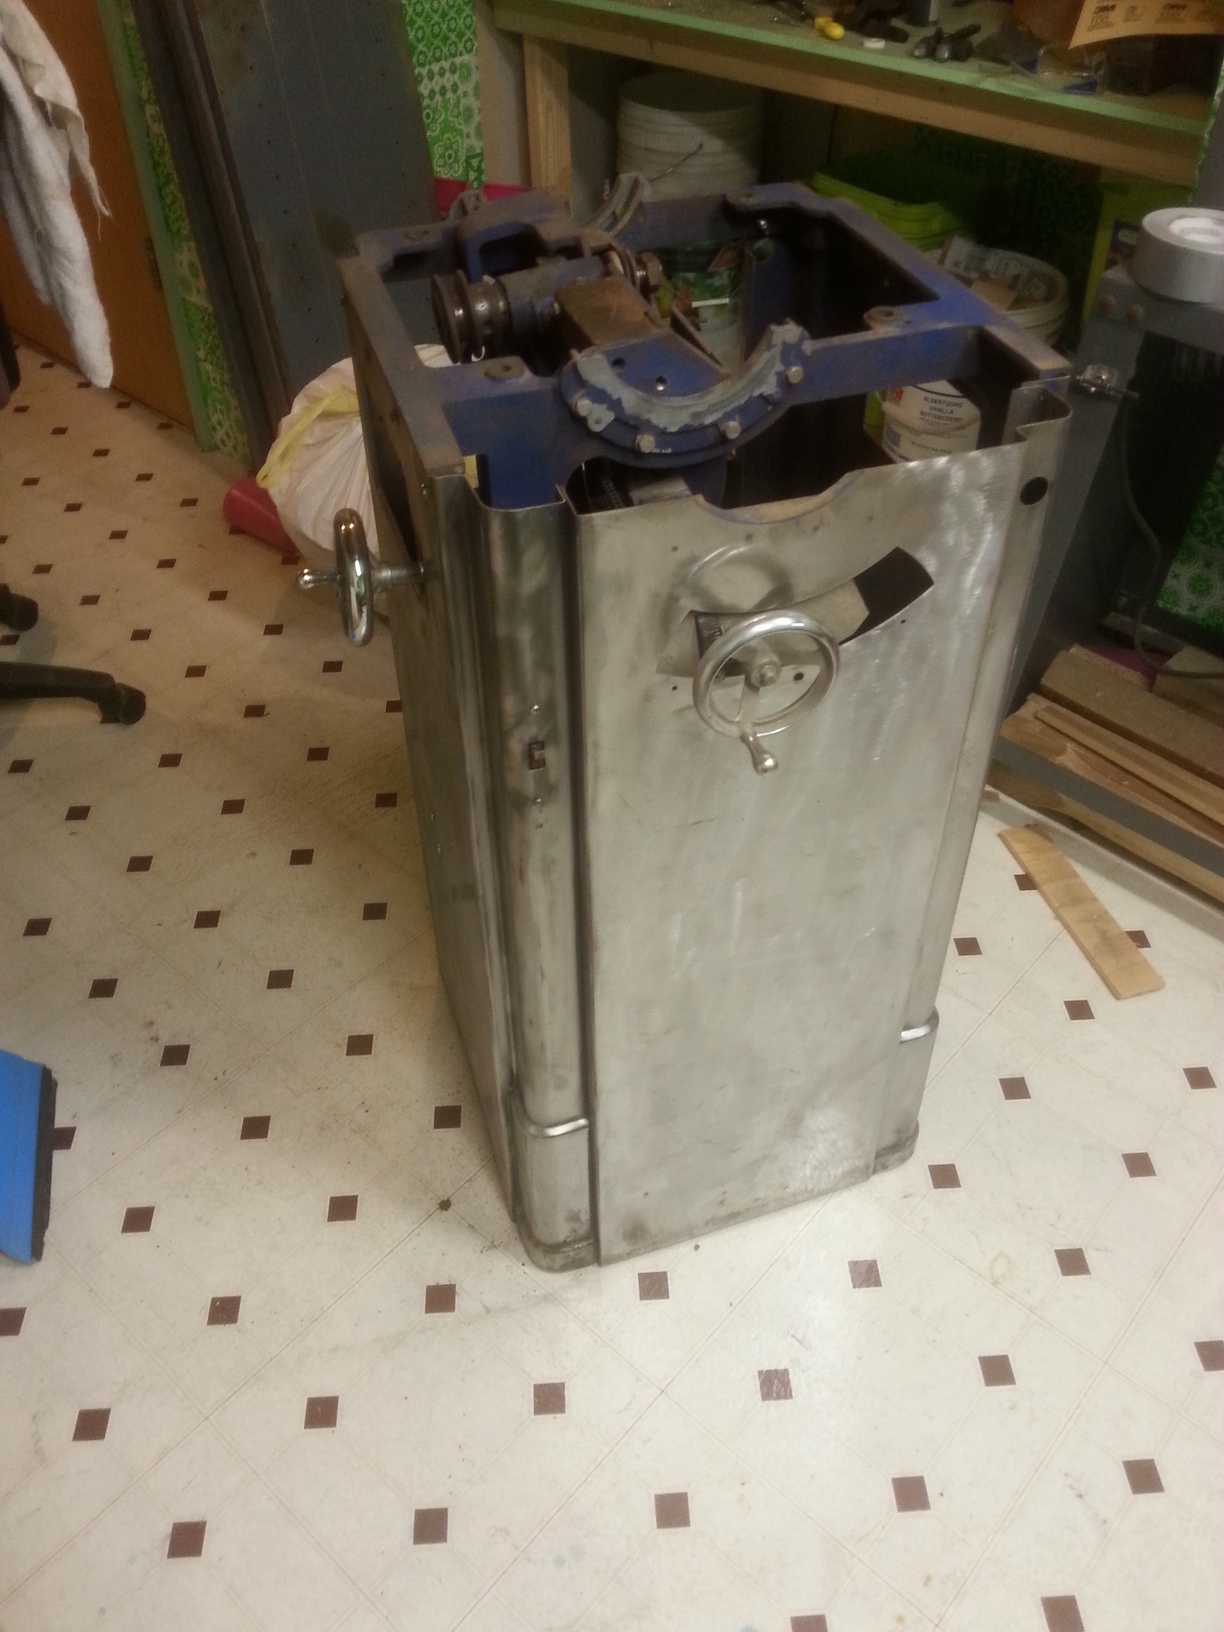
The cabinet was heavily rusted on the bottom, with consistent rust streaks across the cabinet. I used my disc sander and a cobbled together wire brush designed for an angle grinder to remove the rust from both the interior and exterior of the cabinet. The outer paint had faded to a dull grey, while the interior and under the label plates where closer to the blue of the original paint job. I used Rustoleum navy blue paint for a replacement paint. The color is lighter blue than the original paint, but still in keeping with the spirit of the original paint job. Since I removed all the paint from the exterior, the color is consistent; any mismatch on the interior is acceptable.
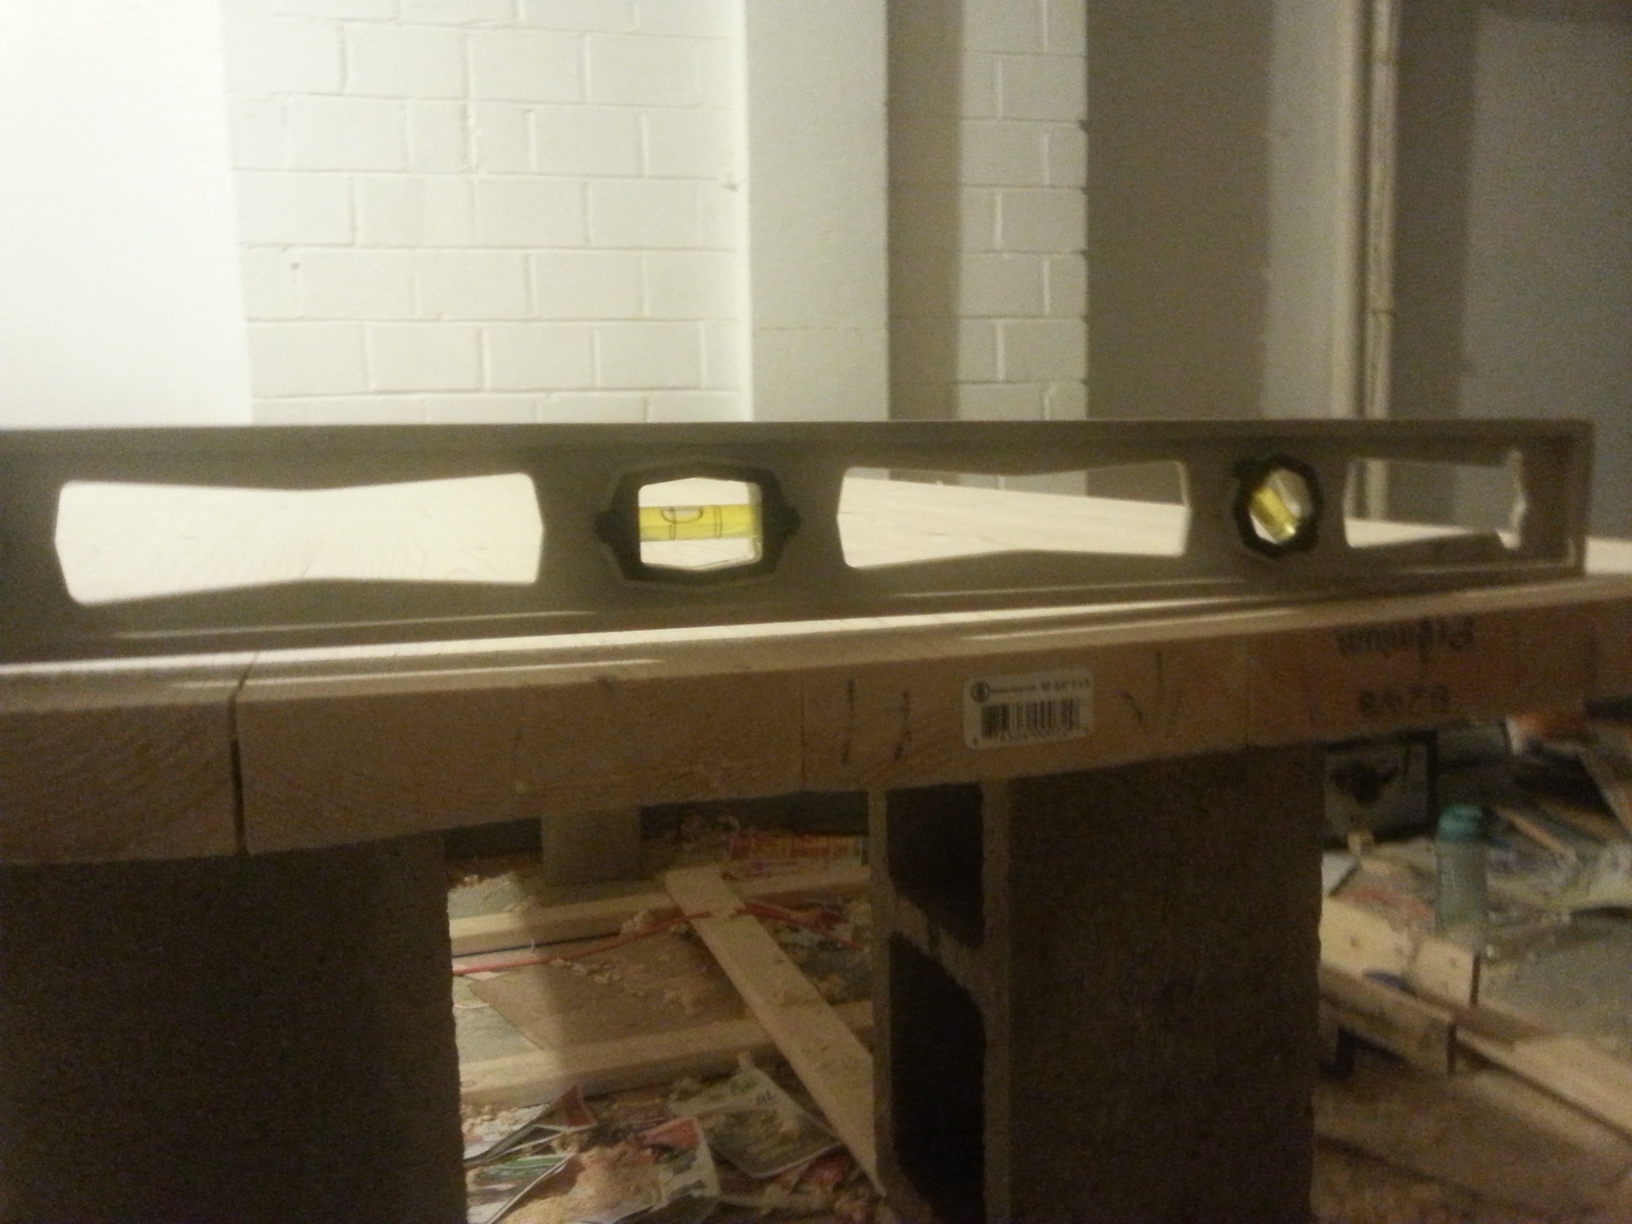
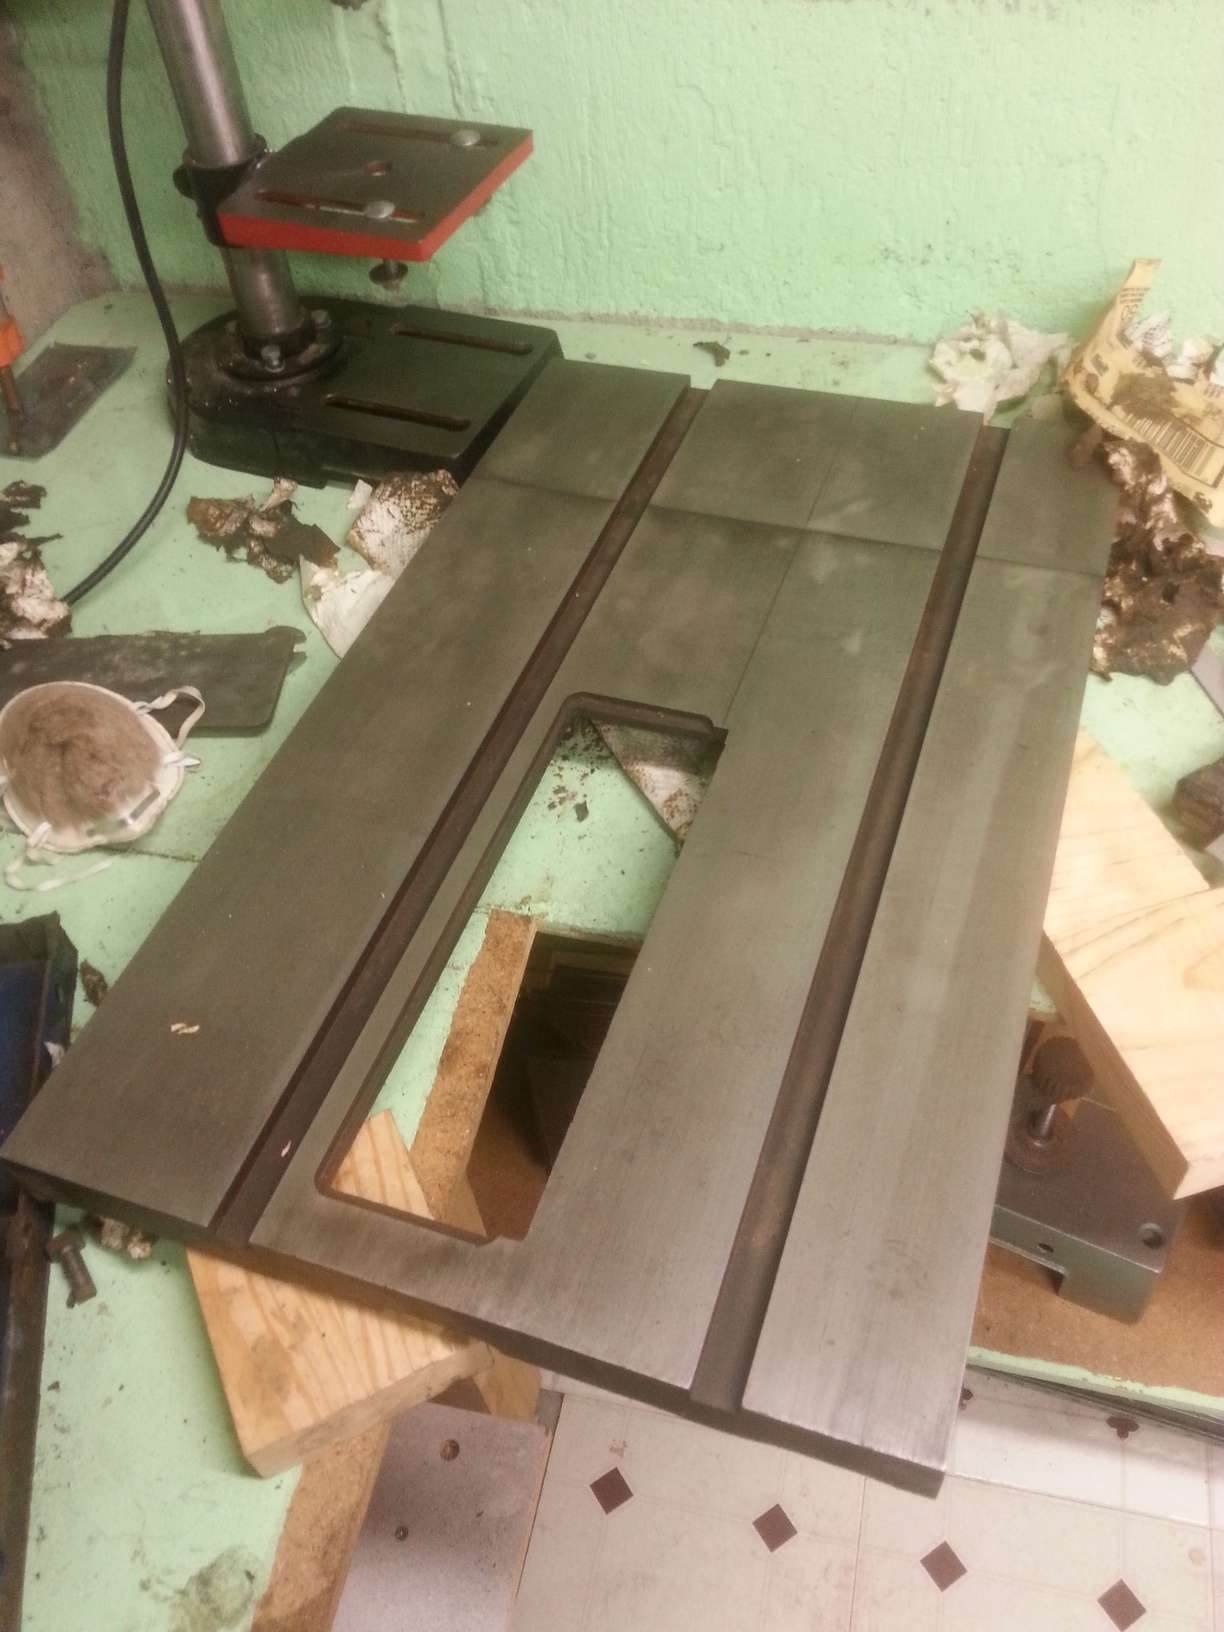
The table top consists of three pieces: the main table, a forward extension, and a side wing. Both the main table and the forward extension are cast iron, while the side wing is sheet metal. All were covered in a layer of rust. None of the pieces were flush with the others. After reassembly, the main and forward segments were able to be lined up to a high accuracy, but there are inconsistencies in the machining. One of the miter slots is a few thousands of an inch narrower, and the other has couple dozen thousands of an inch higher depth than the main table. Neither issue affects my crosscut sled, and will be dealt with later carefully with a file. The side extension was not particularly flat, but that should be acceptable as long as the main table provides the flat support. There are mounting points on either side of the main table. I chose to leave it on the right side to match the fence mount.
Tolerances for the saw were impressive without much adjustment. Using the miter gauge and a dial indicator, I was able to determine that the miter slot runs parallel to the blade within 3 thousands once I seated the table. The slots are parallel within 2 thousands. The blade runs true with little play. All of the measurements place the saw calibrated within my ability to measure.
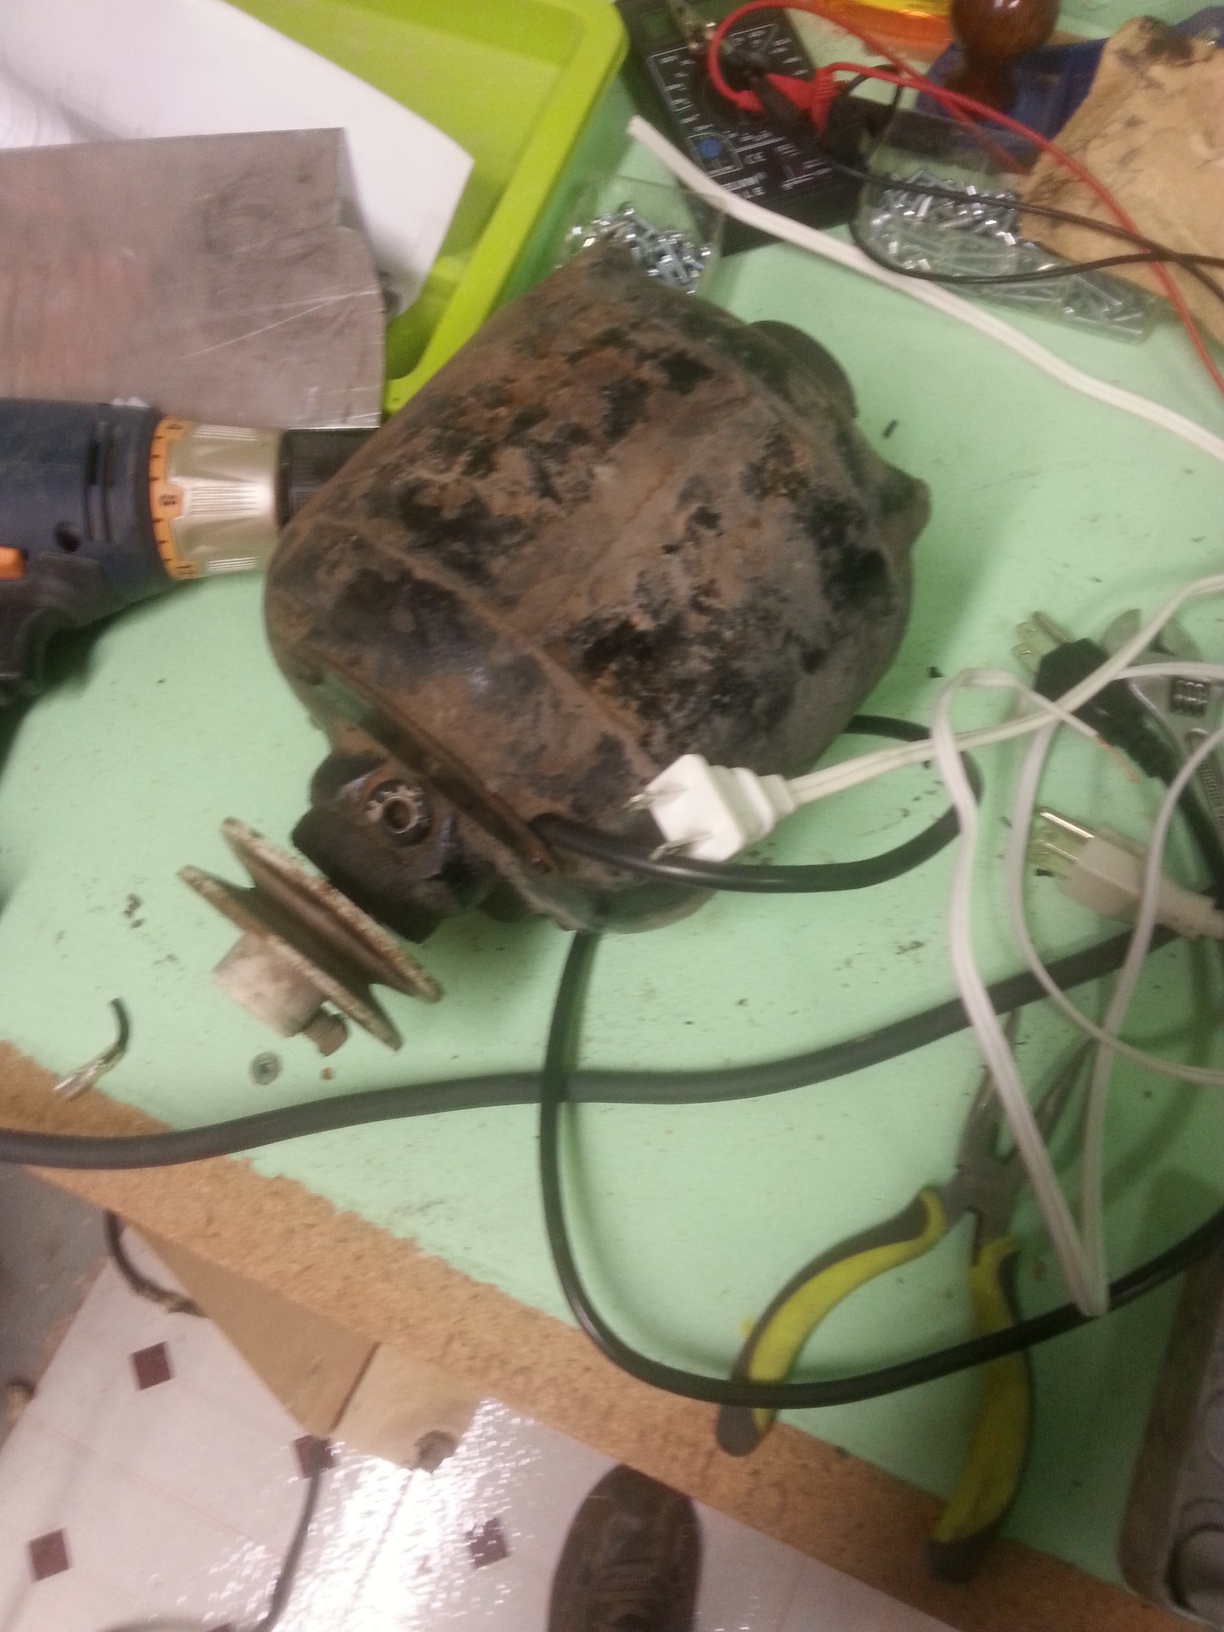
The saw included two motors, an ancient induction motor and a swamp cooler motor. The swamp cooler motor was completely seized up and not a practical plant at 1/3 HP. The old motor was non-functional due to completely destroyed bakelite and cloth style wiring. The motor worked just fine once the cable was replaced. However it runs the wrong way, which indicates it likely is not the original motor for this saw. The motor is not reversible. I was able to test the operation of the saw using the motor from my lathe, but I will need to acquire a new motor.
I replaced the original bakelite and cloth wiring and switches with new wiring and hardware. The saw uses a standard lightswitch on the front as a start/stop switch. I replaced the old switch with a new one and was able to fit - with a little grinding - a punch out enclosure around the switch to cover the wiring. This switch controls a grounded plug that the motor can be plugged into. This makes it easy to change motors by eliminating the need to splice the motor in.
The fence system consistes of a cast iron fence, a ½ by 3 inch iron bar with scale mounted to the front as a rail, and an iron bracket to attach the fence to the rail. The fence and the rail are solid metal and very heavy. I scrubbed the rust off them and painted the non-milled fence surface. The bracket is pretty shot. At some point, it broke in half and was welded back together. The inside of bracket is supposed to have a flat surface mounted perpendicular to the fence and parallel with rail. This surface is bent into a curve, and a chunk is missing where the bracket broke. The bracket is useless, but I should be able to machine a replacement. There is a small threaded half cylinder on the bracket and a bracket of similar radius attached to the bottom of the rail with holes for another matching bracket. This appears to be part of some sort of threaded screw system for advancing the fence, or a reference to snap the fence to a specific fraction of an inch based off the threads per inch..
A stable mounted fence will make cuts easier. I was able to rip some oak boards for my desk legs by using a long piece of aluminum U-channel as a fence. I made a cross cut sled to do basic cuts out of two pieces of aluminum bar stock, some 2x4s and a sheet of MDF. The bar stock is the same size as the miter slot with a clearance of about 6 thousands on the side. I drilled and countersunk holes in the aluminum to screw the bars onto the base of the sheet. I was able to get the bars perfectly parallel and sliding well in the slots with no play. Using the four cuts method, I was able to adjust the rear fence to within a few thousandth off square over 24 inches, pushing the limits of my ability to measure.
Rather than permanently mounting the saw to the floor, I made a little cart out of plywood and some casters I bought at Harbor Freight. I can wheel the saw around the shop and stow it off to the side in a nook. The saw does not vibrate, even without being mounted to the floor. Locking the casters is sufficient to keep the saw from moving. The cart is the same size as the base of the cabinet. It is stable with just the saw and the motor from the lathe; but when I attached the older motor (which weighs maybe three times as much and needed to be mounted further back), the table was able to tip backwards with a solid push. The motor I ended up mounting did put this off balance.
The saw does kick up more dust out the top than I expected. The cabinet did collect most of the dust, but a little did come out the top. The arbor has a wide chute to direct the dust down. I will need to investigate futher ways to reduce the amount of dust. The cabinet has three openings for removable panels, but one of the side and the bottom panels are missing. New panels will close the cabinet on the bottom and cover the mechanism for safety. Adding suction to something like a hole in the base of the cabinet might encourage more dust to follow the blade. This doesn’t seem feasible at the moment, as there is a large opening below the table where the motor and mounting arm sticks out. I could seal this opening with a box around the motor supporting an outfeed table, which would be beneficial in both cases. I could also create a fitting to directly attach the vacuum to the dust chute.
- restoration
- woodworking
- tools
